In our continued quest to document everything we can about Git in a way that helps out anyone looking to learn, we come to the remote.
You may have heard of remotes, or even seen the commands necessary to add a new one to your repo. But do you know what it means to do so, and how to use them? If not, let’s dig in, and you can learn what you need to know.
What is a remote?
When working with Git, you maintain your project in a repository (a data structure that stores all versions of a project’s files and folders). Often, we think of repositories as existing online—like on GitHub—but a repository can live anywhere: on your local machine or on a remote server. A remote repository refers to one that is not on your local filesystem. However, within Git itself, a remote is not the repository’s contents. Instead, it’s like a reference or bookmark to a repository stored elsewhere.
Git manages this reference by storing the remote’s URL and configuration in a local .git folder. So, if you have a local repository and also have a project hosted on GitHub, you can create a remote in your local repo that points to the GitHub repo URL. From then on, instead of typing the full URL each time you want to push or fetch, you can simply use a short name like origin or upstream.
Why use remotes?
As projects scale and as teams grow, having a central location to store and share code is essential. Git remotes enable collaboration by letting you pull changes from other developers, push your own work, and keep code synchronized. This encourages best practices like frequently pushing work, opening pull requests, and integrating changes from teammates.
In modern Git workflows, it’s common to have:
- a local repository on your machine, where you make changes and run tests.
- a remote repository on a platform like GitHub, GitLab, or a company’s internal server, where code is consolidated and reviewed.
A remote reference streamlines these operations. It’s like a shortcut that saves you from retyping a long URL and ensures consistent operations on the correct repository.
What do you need to add a new Git remote?
To set up a remote, you need:
a local Git repository: You can create one using git init in a directory.
a remote repository: This could be on GitHub, GitLab, Bitbucket, or a self-hosted server. Modern Git hosting platforms often require SSH keys or personal access tokens instead of password-based authentication for security.
a name for the remote: The default remote name when cloning a repo is origin. You can choose any name you like (e.g., upstream, company, production) as long as it’s easy to remember and relevant.
the URL of the remote repository: This can be an HTTPS URL or an SSH URL. For example:
- HTTPS:
https://github.com/user/repo.git - SSH:
git@github.com:user/repo.git
- HTTPS:
It does not matter which you use, as long as SSH is active. If SSH doesn’t work, using HTTPS is a more consistent option. As long as access exists, the remote will work when used in other git commands.
How to add a new remote
The actual process for adding a new remote is simple, as long as you have all of the above. The command is thus:
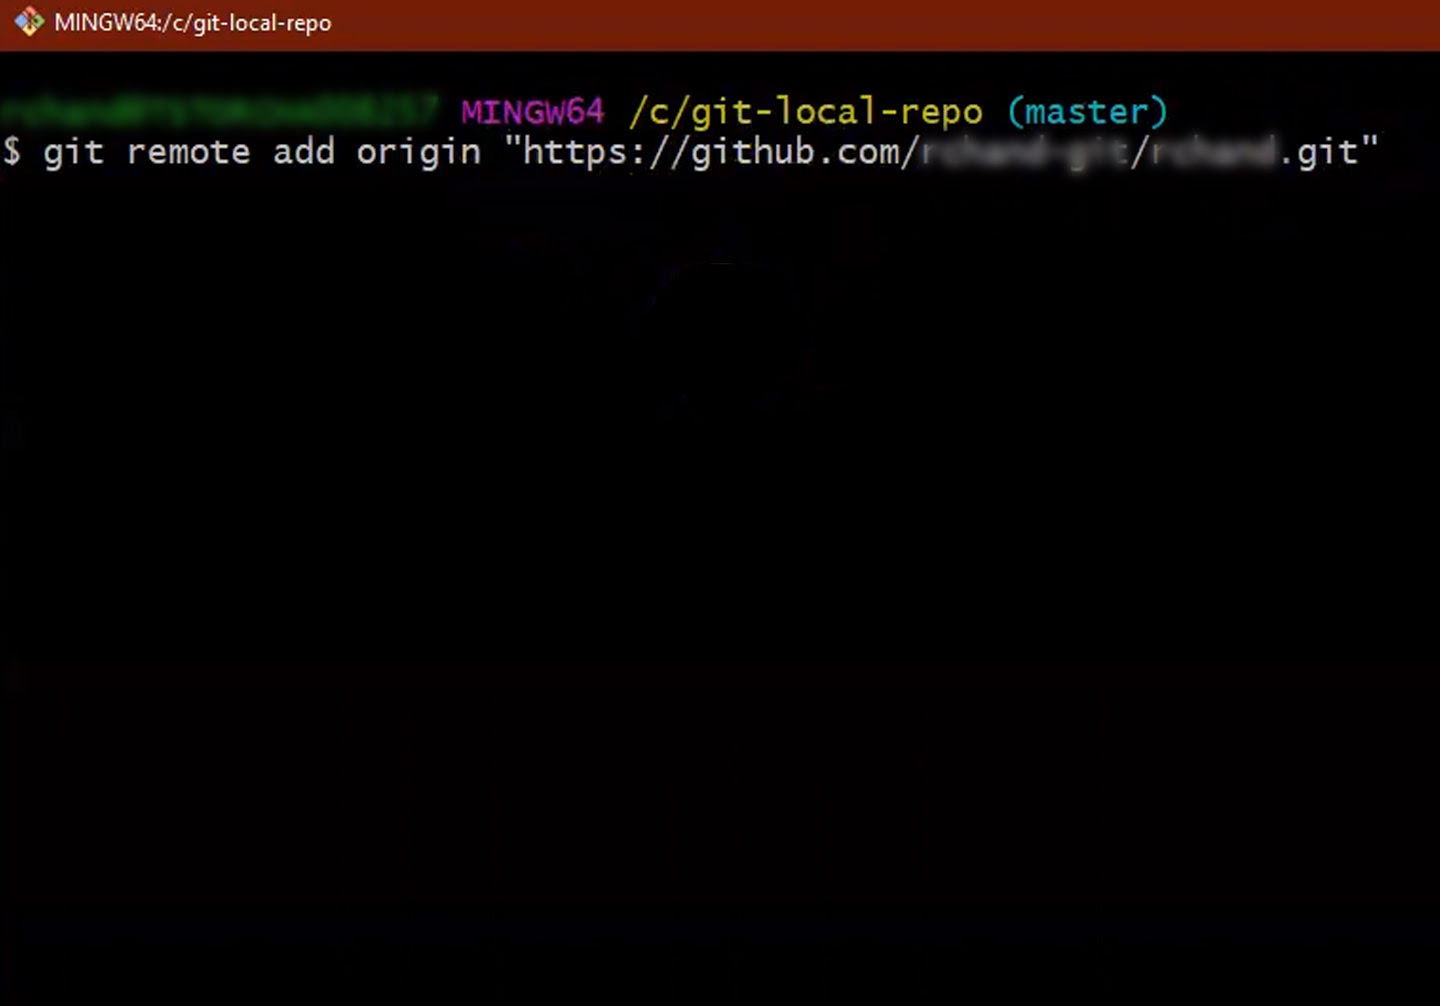
$ git remote add [name] [url]
As an example, then:
# Define a new Remote
$ git remote add ProjectOne https://github.com/companyname/ProjectOne.git
Once you run this command, your new remote, named ProjectOne, will be created in your local configuration. Note that the name [ProjectOne] is a replacement for [Origin] and can be whatever name you want it to be. Origin is a good name for the source of your code, but in development environments where you’re working with multiple projects with multiple origins, using Origin for all of them has the potential to be confusing. Or, by keeping it standardized and using Origin for the source you pull from and commit to, it may be more consistent. It’s up to you, your habits, and any directives from your management.
Since it’s always a good idea to check your work, you can verify the remotes that have been added to your configuration. The command for this is also simple:
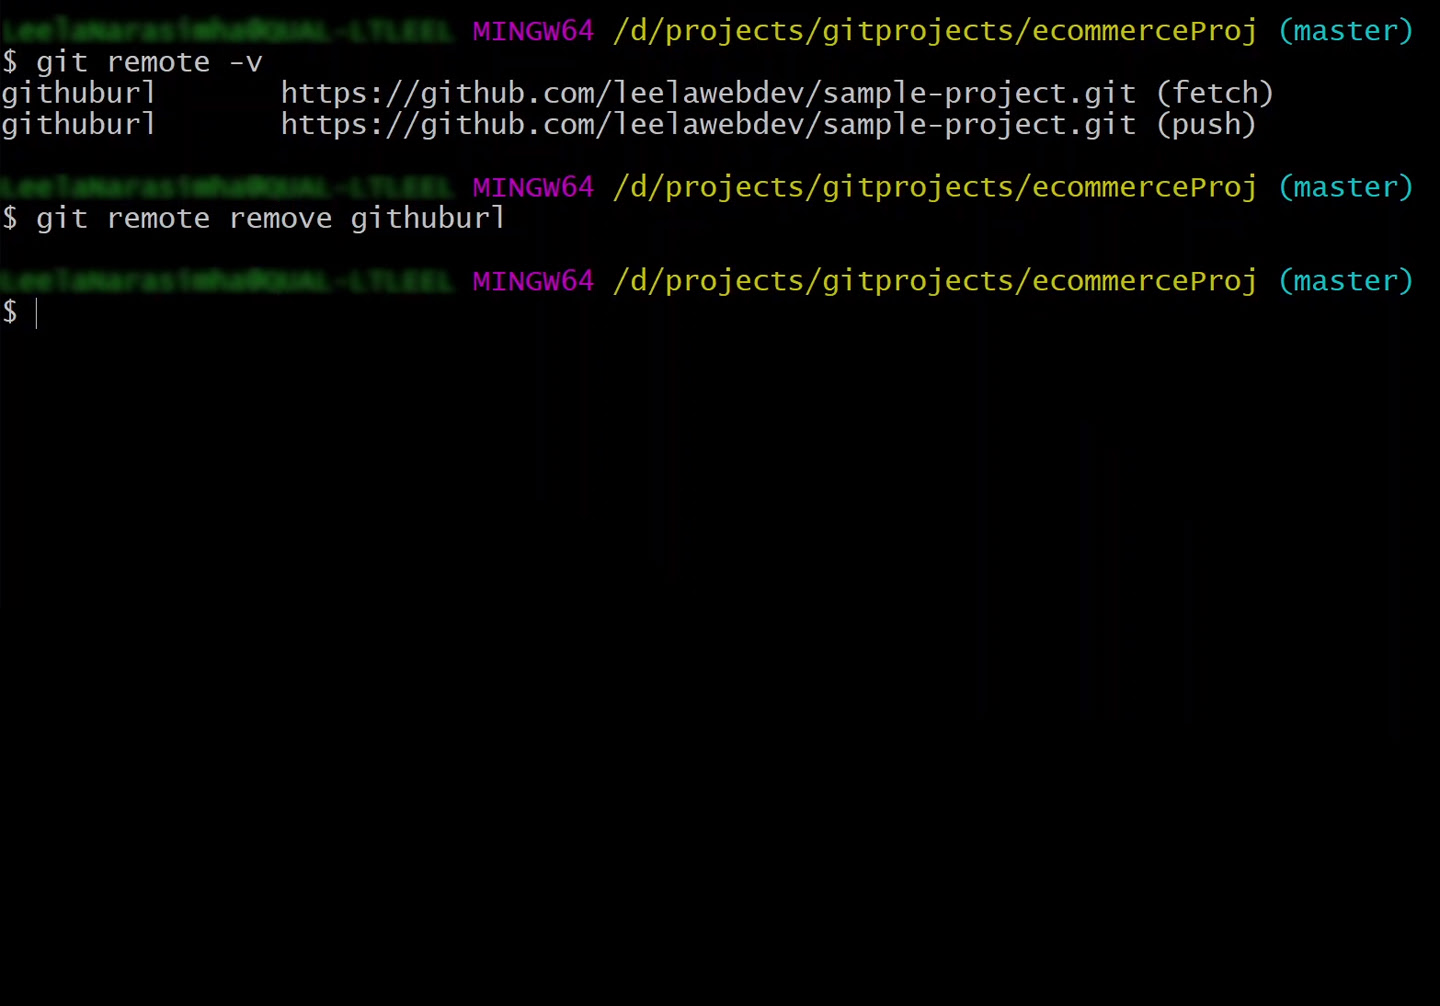
$ git remote -v
When you run this command, you’ll receive an output that lists the name, URL, and accepted commands. For our example above, you would receive:
ProjectOnehttps://github.com/companyname/ProjectOne.git(fetch)ProjectOnehttps://github.com/companyname/ProjectOne.git(push)
If you have more than just the one remote defined, you will get more than one set of validations back. For example, if you have a second remote defined with a different repo, you might receive:
ProjectOnehttps://github.com/companyname/ProjectOne.git(fetch)ProjectOnehttps://github.com/companyname/ProjectOne.git(push)ProjectOneMirrorhttps://github.com/companyname/ProjectOne.git(fetch)ProjectOneMirrorhttps://github.com/companyname/ProjectOne.git(push)
If you’re defining a large number of remotes to a large number of repos, this can get confusing, but that’s the nature of asking for lists of things.
How to use a remote in Git
Using a remote is easy. Any time you would push to, pull from, commit to, or otherwise interact with a repository, instead of typing in the whole URL of the repository, you simply type in the name of the remote.
Say, for example, that you want to fetch the ProjectOne repository found at https://github.com/companyname/ProjectOne.git. There are two ways to do that. The first is:
$ git fetch https://github.com/companyname/ProjectOne.git
This involves typing a 45-character string. It might not seem like much, but if you get something wrong – like HTTP instead of HTTPS, or accidentally typing github, or even in some cases getting the cases wrong (i.e. projectone instead of ProjectOne) – the request will fail. So, instead:
$ git fetch ProjectOne
This does the exact same thing as the 45-character string URL, except instead of a long string with numerous possible chances of making a mistake, you have a simple short name that counts as the URL for all purposes.
Cloning a repository automatically adds the source repository as a remote under the name Origin. Commands like pushing and pulling can use a remote name instead of a URL as necessary. Consider it as a simple replacement for the URL and you can do anything you would with the URL using the remote reference instead.
Inspecting a remote
If you inherit a project or want to review what remotes are configured, you can inspect them.

The command to do so is:
$ git remote show [name]
This will show you the name, fetch URL, push URL, head branch, remote branches, branch configurations, and local reference configurations for the repository at the other end. There may be very little information there, or quite a bit more, depending on how large, complex, and active the project is.
Renaming a Remote
If you’ve decided that you don’t like the name of a remote – for example, if you keep typing the name incorrectly, or if the name you assigned it no longer applies – you can change the name of a remote.
This, too, is quite simple:
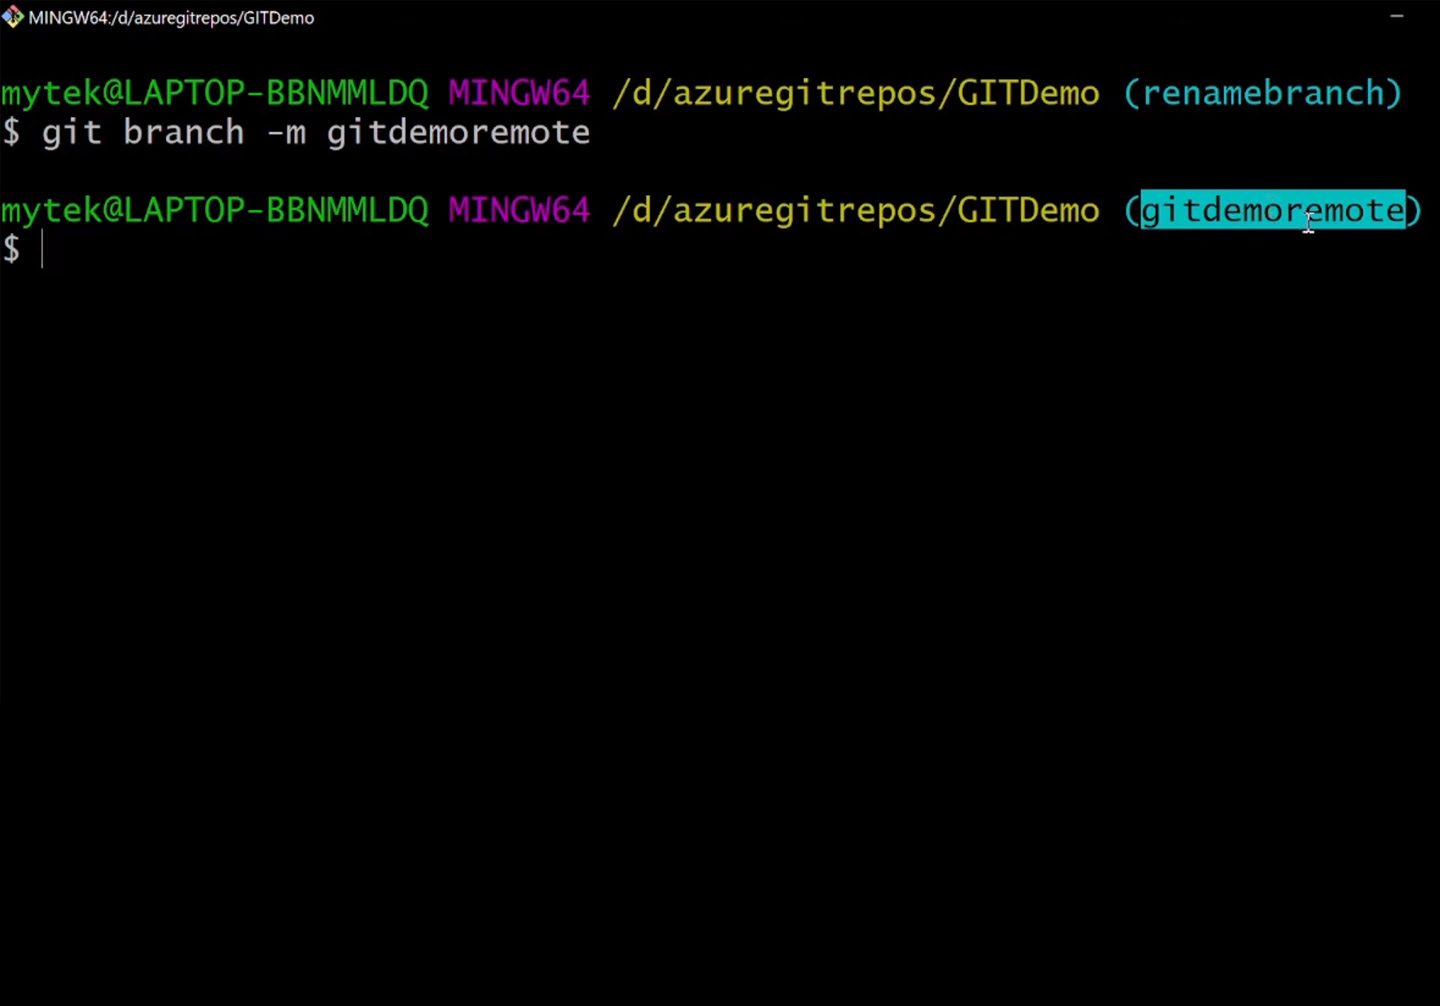
$ git remote rename [oldname] [newname]
So, to rename ProjectOne into your team’s official name for it, Brandname, you would use:
$ git remote rename ProjectOne Brandname
Conveniently, if you have any remote-tracking branches, those will change automatically. You don’t have to go through and painstakingly rename them all.
Removing a Remote
Similarly, it’s also easy to remove a remote if that remote is no longer valid or necessary. For example, maybe the server source has been changed, or you’re no longer using a specific mirror, or the contributor you were relying on is no longer active, you can remove the remote. This helps with the issue we mentioned above, where the list of remotes gets long and unwieldy.
All you need to do is this:
$ git remote remove [name]
This does also delete any remote-tracking branches or settings, so make sure you’re certain you want to do so before you execute the command. You can always recreate the remote, but you can’t undo the deletion, so you would then have to go through and re-add the remote-tracking branching or additional configuration settings, as necessary.
Troubleshooting Remote Issues
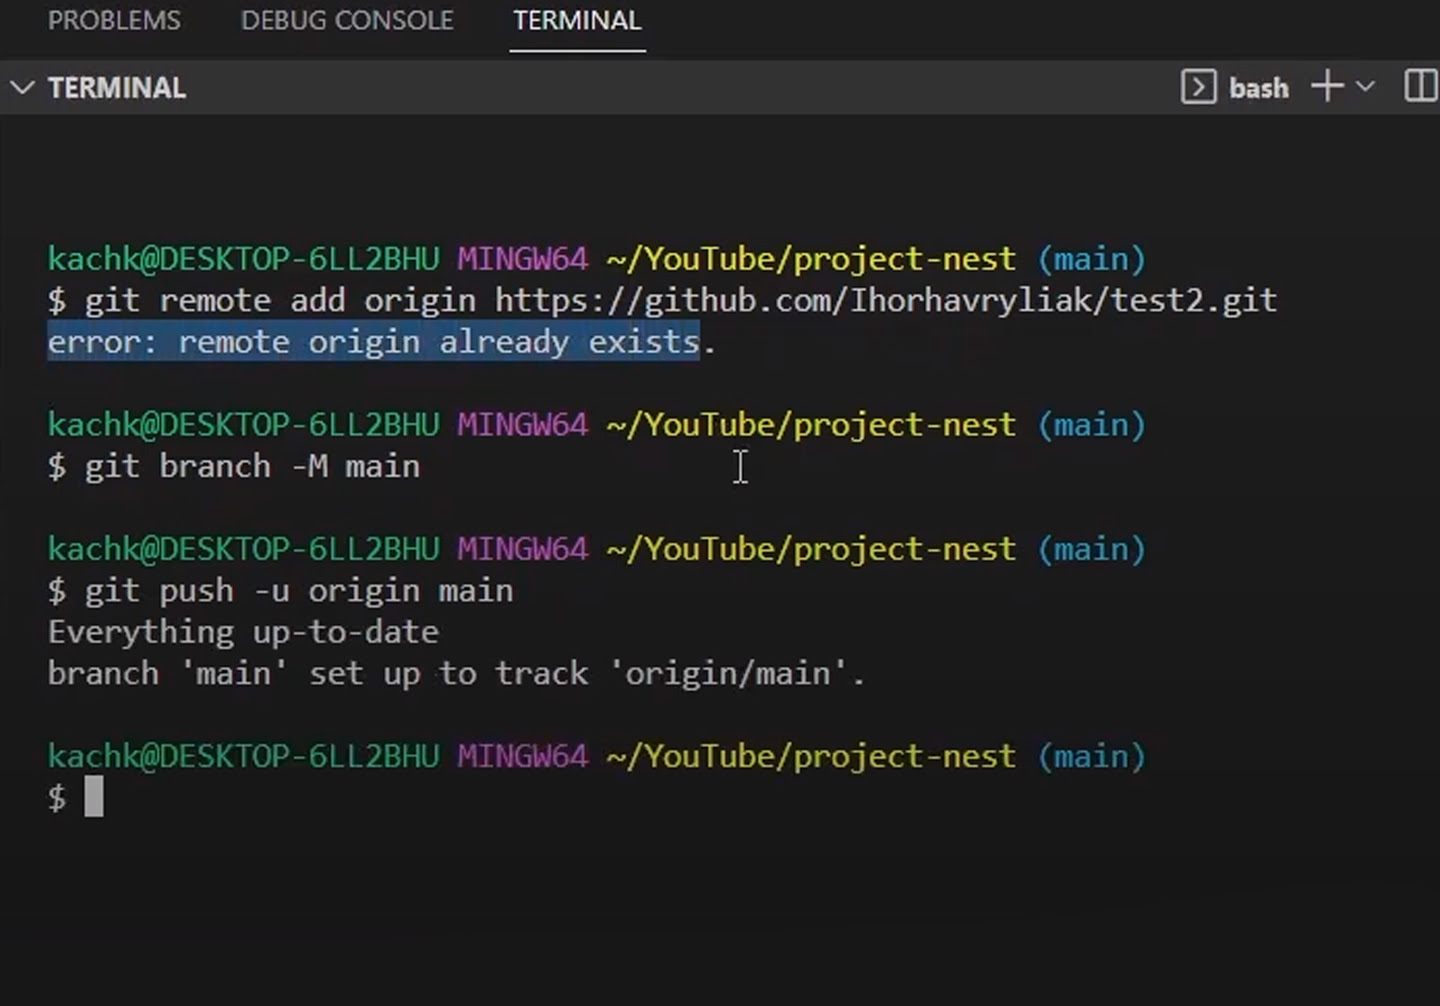
One of the most common issues you might get when trying to add a remote is the error:
fatal: remote origin already exists.
For those who aren’t familiar with the name Origin, and haven’t read our sidebar above, you might be confused. Does this mean the remote source already exists, so you can’t add the remote? In fact, no; all it means is that there is already a remote named Origin already. Since this is added automatically when you close a repository, it exists without you having created it.
To solve this issue, really all you need to do is ignore it. A remote you don’t use doesn’t hurt anything. However, if it’s disruptive, you can fix the problem. Start by verifying your remotes as mentioned above, to see what the URLs are for the existing origin remote. Then make your decision.
Do you need a new remote referencing another URL? If so, simply add a new remote under another name. As long as you know what the name is, it will work just fine; there’s nothing inherently special about the name Origin, and it functions identically to any other remote.
Do you want to keep the existing Origin remote, but have a different remote named Origin? In this case, you can rename the existing Origin remote to something else, and create a new remote named Origin to serve your needs.
Do you not need the Origin remote at all? You can simply delete it. You can then add a new Origin remote if you prefer, or add a remote under a different name, or even choose not to use remotes at all if you don’t want to use them. There’s no wrong way to use Git in this case.
Speeding up your workflow with Graphite
Tools like Graphite can streamline the review and development process. By integrating directly with GitHub, Graphite enables parallel code review and automates repetitive tasks, saving you time. With Graphite, you can:
- define remotes easily
- orchestrate multiple branches and pull requests
- maintain a clear view of changes and dependencies
For example, after defining a remote and pulling down changes, you might use Graphite’s UI to open, review, and merge pull requests more efficiently. This speeds up the iterative development cycle, letting you focus on coding rather than overhead.
If you’re interested in exploring Graphite’s features, you can set up your free trial here. It’s never been easier to optimize your Git workflow—setting up and managing remotes is just the start.