In this guide, we will take a look into the process of adding repositories in Git, specifically focusing on creating new repositories and connecting them to remote platforms like GitHub.
What is a Git repository?
A Git repository is a storage location where a project's files and revision history are stored, allowing multiple contributors to collaborate on the same codebase. It enables version control, tracking changes made to files over time, and facilitates collaboration by providing tools for branching, merging, and managing different versions of the codebase. Git repositories can be hosted locally or on remote servers like GitHub, GitLab, or Bitbucket.
Local repository vs. working directory
Local repository: The local repository refers to the collection of code files, metadata and other assets that are stored directly on your local machine. This includes the .git directory inside your project, where Git tracks the changes and stores the history of your project.
Working directory: The working directory is just one aspect of the local repository, and refers to the directory on your local machine where you are currently making changes to your project's files. It contains the files you are actively working on and allows you to modify, add, or delete files as needed. Changes made in the working directory can be staged and committed to the Git repository to track the progress of your project.
Adding a new repository in git
To add a new repository in Git first you must initialize it. This creates the .git subdirectory and configures the repository with all of the necessary Git metadata.
Initialize a new local repository
- Open your terminal or Git Bash.
- Navigate to your project directory:Terminalcd path/to/your/project
- Initialize the repository:This command creates a new subdirectory named .git that houses all necessary repository files – a Git repository skeleton. Your project is now officially a Git repository, but it only exists locally.Terminalgit init
Add a remote repository
After creating a local repository, you'll next want to push your project to a remote server, such as GitHub, to collaborate with others or back up your work.
Create a new repository on GitHub.
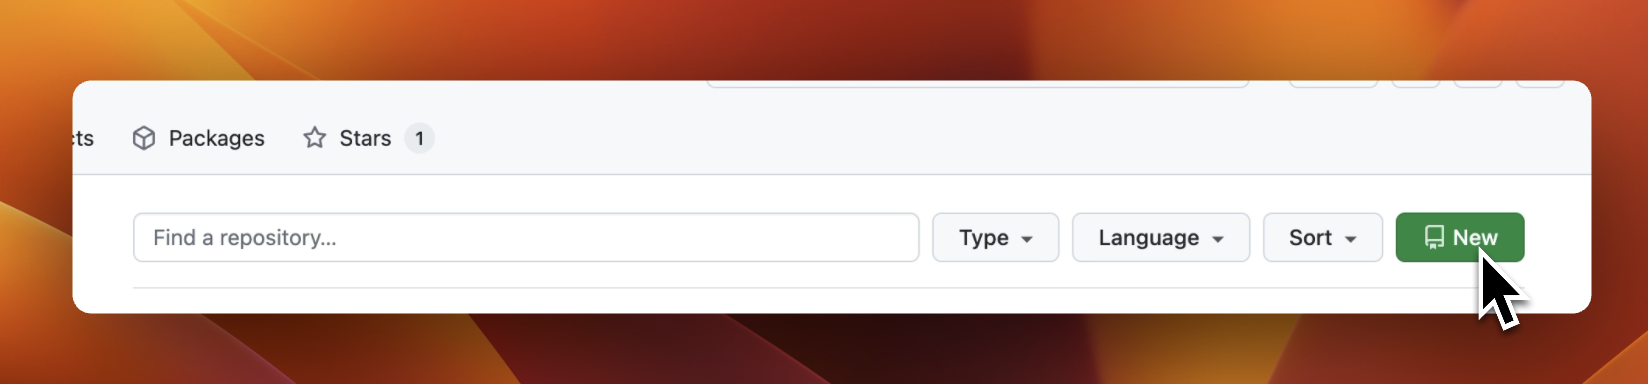
- Go to GitHub.com, sign in, and click on the "New repository" button.
- Name your repository and choose the visibility.
- Click "Create repository."
Link your local repository to the GitHub repository:
Terminalgit remote add origin https://github.com/yourusername/newrepository.gitReplace
https://github.com/yourusername/newrepository.gitwith the URL provided by GitHub after creating your new repository.This establishes a connection between your local Git repository and the corresponding remote repository on GitHub, enabling synchronization between the two.
Add existing code to the new repository
If you have pre-existing code that you want to add to this newly created repository:
Add the files to the staging area with:
Terminalgit add .This command stages all your current directory changes for commit. The staging area in Git acts as a middle ground between your working directory and the commit history. When you use
git add ., you place all your modified and new local files in the staging area, preparing them for inclusion in the next commit. This allows you to selectively choose which changes to commit, providing a level of control over your version history.Commit the changes:
Terminalgit commit -m "Initial commit"This command creates a snapshot of the changes staged in the previous step and saves them permanently to the local Git repository. The
-mflag allows you to include a short message describing the changes made in this commit, which aids in understanding the purpose of the commit at a glance. In this example, "Initial commit" is the commit message, typically used for the first commit in a repository to signify the project's initial state.Push the changes to GitHub:
Terminalgit push -u origin mainThis command sends your commits from your local repo to GitHub. It also sets your local main branch to track the remote main branch.
Best practices for managing repositories
Commit often: Make small, frequent commits that capture logical changes. This makes it easier to identify issues and roll back changes if something goes wrong.
Write clear commit messages: Your commit messages should be clear and descriptive to help other developers understand the history of the project.
Ignore unnecessary files: Use a
.gitignorefile to exclude temporary files and other non-essential files from being tracked by Git.Review changes before committing: Use
git statusandgit diffto review your changes before staging them.
For further reading on adding repositories in Git, see the official Git documentation.
Using the Graphite CLI to initialize a repository with gt init
The Graphite CLI simplifies common Git workflows, offering features like PR stacking and improved rebasing tools. A key Graphite command for initializing and managing repositories is gt init.
Initializing a repository with gt init
To set up a new repository using Graphite CLI:
Install Graphite CLI If you haven't already, install the Graphite CLI by following the installation guide.
Run
gt initOpen your terminal and navigate to your project directory:Terminalcd path/to/your/projectInitialize the repository with:
Terminalgt initThis command creates the necessary
.gitdirectory and initializes the project as a Git repository, similar togit init. Additionally,gt initensures the repository is set up to leverage Graphite's advanced features, such as stacked PRs and seamless synchronization with remote repositories.Connect to a remote repository If you need to link your repository to a platform like GitHub, you can use:
Terminalgit remote add origin https://github.com/yourusername/yourrepository.gitSet up your first branch Create your first branch with:
Terminalgt create --all --message "feat: Initial project setup"This automatically stages your files, commits them with the provided message, and creates a branch ready for submission.
Submit to the remote Push your branch to your remote repository and create a pull request using:
Terminalgt submit
Benefits of using the Graphite CLI
- Seamless PR creation:
gt createintegrates directly into the initialization process, making it easy to set up branches and commit changes. - Advanced workflows: By starting with
gt init, you gain access to Graphite's PR stacking and restacking capabilities. - User-friendly interface: Graphite CLI streamlines many Git commands, reducing complexity for developers managing large projects or collaborating on multiple features simultaneously.
By incorporating the Graphite CLI into your workflow, you can lay the foundation for efficient version control while taking full advantage of Graphite's advanced Git features. For more details, check out the Graphite CLI quick start guide.