Git Bash is a command-line interface for using Git for Windows, providing users with a Bash emulation to run Git commands with more flexibility and efficiency. This guide will cover the essentials of Git Bash, from downloading and installing, to package management and executing your first commands.
Downloading and installing Git Bash on Windows
Git download for Windows: To get started with Git Bash, download the latest version of Git for Windows from the official website git-scm.com. It is available for various Windows versions including Windows 10, Windows 11, and older versions like Windows 7 and Windows 8.
Git install Windows: Run the downloaded
.exefile to start the installation process. During installation, you will encounter various setup options. Default settings are typically sufficient for most users, but you can customize components and the default editor used for Git commands if necessary.Git Bash setup: Among the options during installation, you'll choose how Git is run in the command prompt. We recommend selecting the "Use Git from the Windows Command Prompt" option, unless you have specific additional Unix tools you want to install alongside Git Bash. You can always change this setting later.
Basic Git bash commands
After installation, you can access Git Bash through the Start menu or by clicking on the shortcut you created during installation.
Git Bash operates on a unix-like CLI environment, meaning that you navigate the terminal like you would on a unix system.
Navigating directories: Use
cd <directory>to change your current directory.Creating directories:
mkdir <directory-name>creates a new directory.Creating files:
touch <file-name>creates a new file.Checking Git version:
git --versionshows the installed Git version, helpful for ensuring you have the latest features and security updates.
Git configuration
Before you start using Git, configure your user name and email address:
git config --global user.name "Your Name"git config --global user.email "your_email@example.com"
These details are important because every Git commit includes this information in its metadata.
TIP: If you want to change either field temporarily, you can run this command later without the --global , which will set email and name in the scope of the current git project.
Your first git repository
Create a workspace directory: It’s good practice to store all of your git repos in the same top level directory. This keeps all of your repositories organized and easy to access. Create a directory named
workspacein your home directory.Creating a repository (repo): Next navigate create a new folder inside of your workspace directory and run
git init. This command creates a new Git repository and adds a few Git metadata files.Create a README: Create a
README.mdfile to give your new git project a starting point. You can do this with the commandtouch README.md.Staging changes: Use
git add <file>to stage the single README file orgit add .to stage the entire directory, in the case you’ve created other files as well. For further info, please see this guide on how to usegit add.Committing changes: Commit your staged changes with
git commit -m "Your commit message". Commit messages should be meaningful, describing what changes were made and why.
Working with remote repositories
Git clone: To copy an existing Git repository, use
git clone <repository-url>. This is often the first step when contributing to a project or starting a new feature based on an existing codebase. For further info, please see this guide on cloning repositories.Git push: After committing changes in your local repository, use
git push origin <branch-name>to upload them to a remote repository.Git pull: To update your local repository with changes from the remote, use
git pull origin <branch-name>.
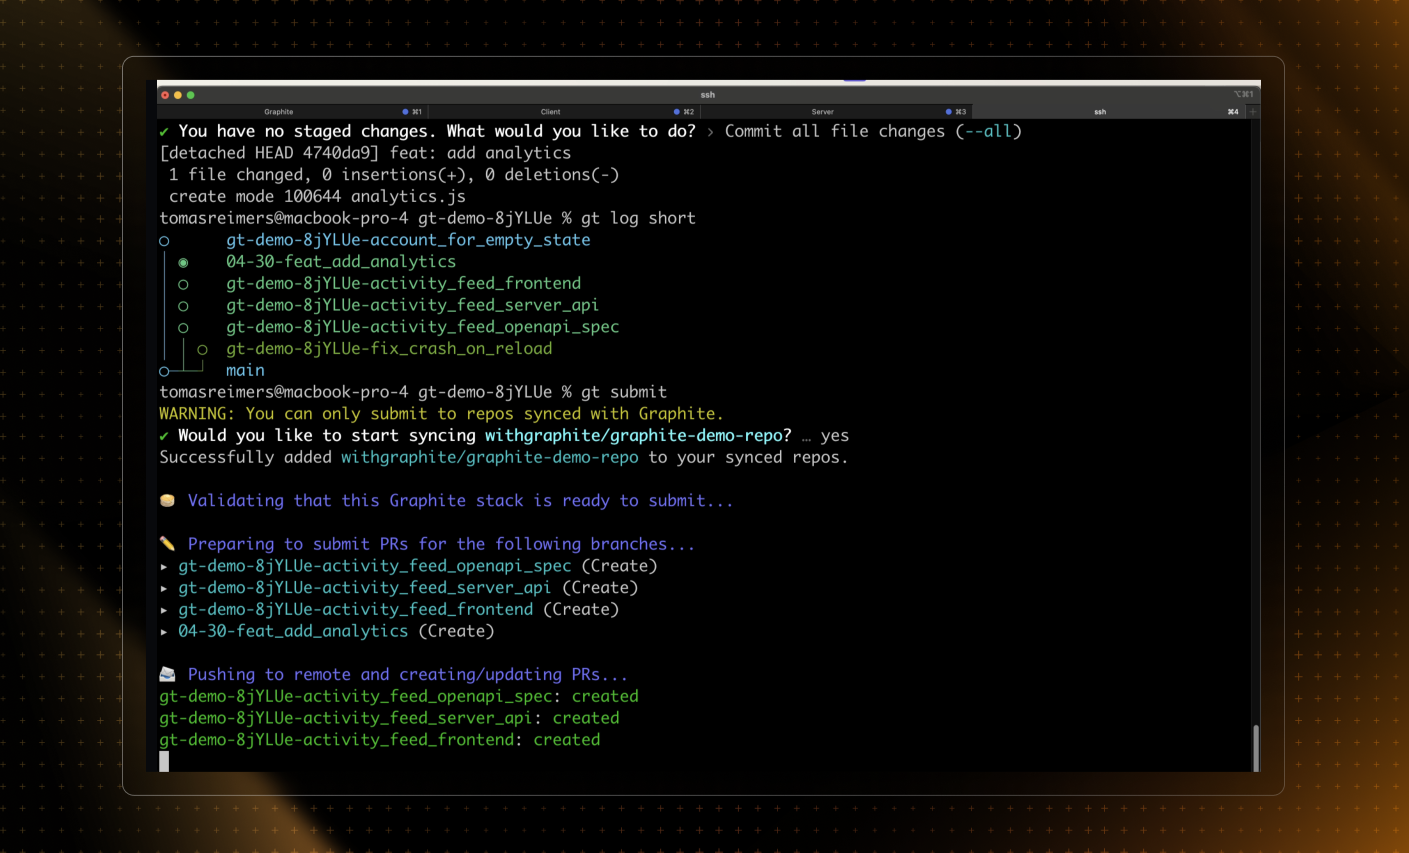
Using the Graphite CLI in Git Bash on Windows
While Git is an incredibly useful tool, it has many shortcomings, particularly with rebasing, and managing stacked pull requests.
Compatible with Git Bash for Windows, the Graphite CLI simplifies git, handles rebasing automatically, and allows you to create, submit, and stack pull requests right from the command line.
Under the hood, the CLI runs Git to create branches, commits, and metadata, which means you can still use Git in your scripts, tooling, or whenever you feel like it. Read more about installing the Graphite CLI in our docs.
Git Bash Customization and Package Management
Git Bash can be customized in various ways, such as modifying the Bash profile for aliases or prompts. For Windows package management, we recommend Chocolatey, or you can use Git's included package management features for specific Git-related tools.
Troubleshooting and Further Learning
Git Bash documentation and help: For more detailed information and troubleshooting, refer to the official Git For Windows documentation or use git help <command> to get help for specific Git commands.