In Git, each commit is associated with an author and a committer. Sometimes, it may be necessary to change the author details of a commit—perhaps due to a misconfiguration of user details or when migrating commit histories between projects. This guide will walk you through the process of changing the author of a Git commit, covering various scenarios from a single commit amendment to changing the authorship of multiple commits across a project’s history.
Understanding commit author and committer
Before diving into the procedures, it’s important to distinguish between an "author" and a "committer":
- Author: The person who originally wrote the code.
- Committer: The person who last applied the code to the repository, which could be different in cases of patches or collaborative projects.
Step 1: Configure Git with your new author details
If you've realized that your commit authorship details are incorrect across many projects, you might want to update your global Git configuration:
git config --global user.name "New Author Name"git config --global user.email "new.author@example.com"
This example changes the author config at the "global" level, but Git offers several levels of configuration settings, each catering to different scopes: system, global, and local.
The system level affects all users on a machine and all their repositories; settings are typically stored in a configuration file accessible system-wide, such as /etc/gitconfig.
The global level applies to every repository the current user works with on the machine, with settings usually found in the user’s home directory, for example, ~/.gitconfig or ~/.config/git/config.
The local level is specific to a particular repository and overrides system and global settings; these configurations are stored in .git/config within the repository itself.
The author can be set separately at each level with order of precedence: local, global, then system.
Step 2: Amend the author of the most recent commit
To change the author information for the most recent commit run:
git commit --amend --author="New Author Name <new.author@example.com>"
This command opens your default text editor to edit the commit message, and it replaces the author details with the new ones specified.
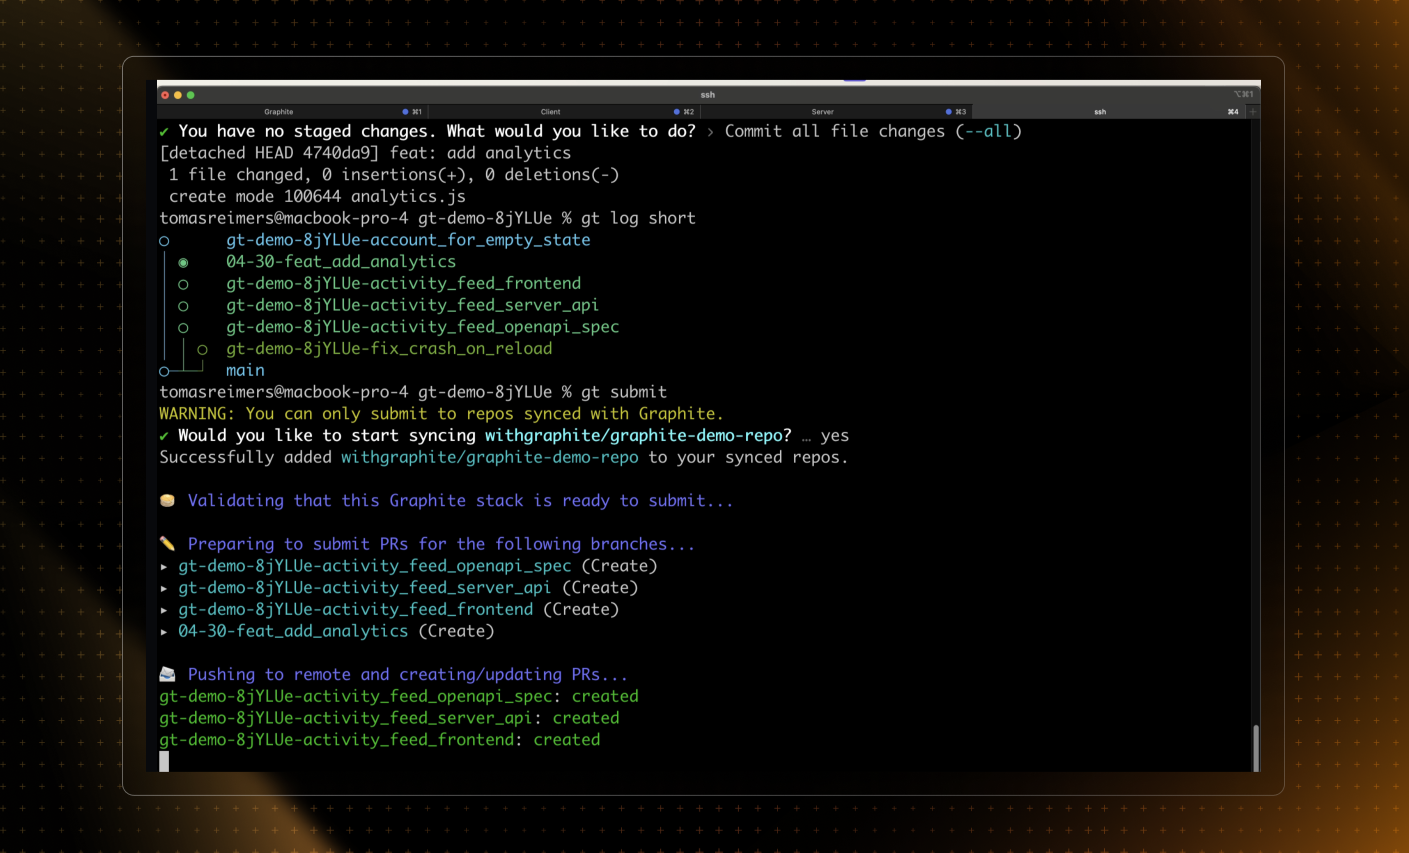
Step 2a: Use the Graphite CLI to manage Git author details
While Git is an incredibly useful tool, it has many shortcomings, particularly with rebasing, and managing stacked pull requests.
The Graphite CLI simplifies git, handles rebasing automatically, and allows you to create, submit, and stack pull requests right from the command line.
Under the hood, the CLI runs Git to create branches, commits, and metadata, which means you can still use Git in your scripts, tooling, or whenever you feel like it. Read more about installing the Graphite CLI in our docs.

Step 3: Change the author information after pushing to remote
If the commit has already been pushed to a remote repository (like GitHub) and needs to be corrected, perform the amendment locally as shown above, and then force-push the changes:
git push --force
Note: Force-pushing can disrupt the history for other collaborators. It should be used with caution, particularly in shared repositories.
Step 4: Amend the author of a specific commit
To change the author of a specific commit that isn't the most recent, you'll need to use an interactive rebase:
Start an interactive rebase up to the commit you want to change:
Terminalgit rebase -i <commit-id>^Replace
<commit-id>with the hash of the commit just before the one you want to amend.In the text editor that opens, change the word
picktoeditnext to the commit you want to amend, then save and close the editor.Amend the commit:
Terminalgit commit --amend --author="New Author Name <new.author@example.com>"Continue the rebase:
Terminalgit rebase --continue
For further reading on commit authors see the official Git documentation.