Cherry-picking in Git is generally used to apply changes from specific commits without merging a whole branch. This can be particularly useful for applying bug fixes or feature enhancements that are developed in a separate branch but needed in another. The usual cherry-pick operation applies the entire commit, but sometimes you only need specific files or folders from the commit.
How to cherry-pick individual files or folders
Here’s how to cherry-pick individual files or folders from one branch to another:
Step 1: identify the commit
First, you need to identify the specific commit from which you want to cherry-pick files. You can find the commit by looking at the Git log of the branch containing the desired changes.
git checkout source-branchgit log --oneline
Look through the output to find the commit hash of the changes you want to cherry-pick. Each Git commit hash is a unique identifier generated by Git to represent a specific commit in a repository. It is a cryptographic hash calculated based on the content of the commit and its metadata, serving as a globally unique reference to that commit within the repository.
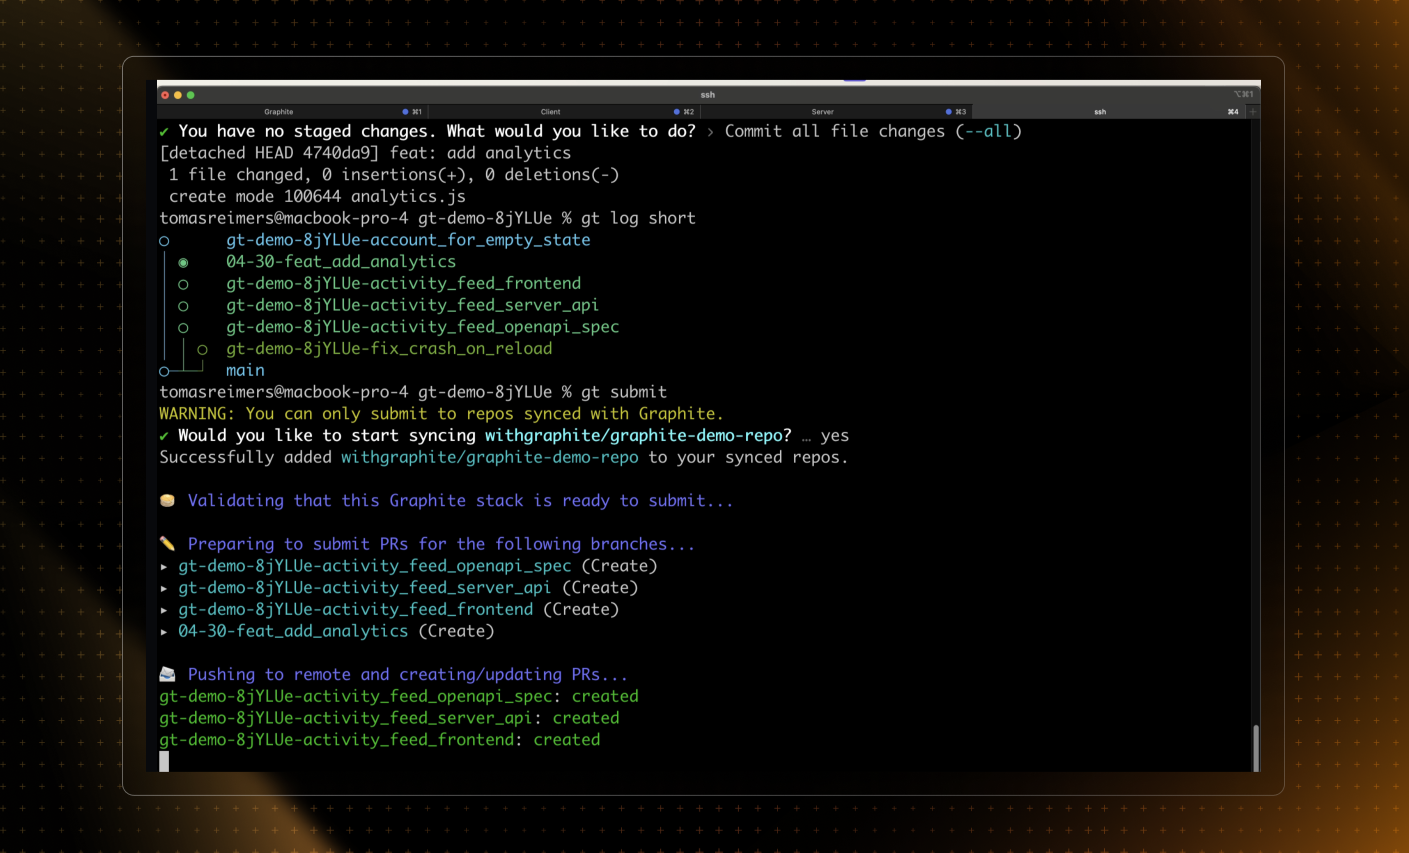
Step 1a: Use the Graphite CLI visual log
While Git is an incredibly useful tool, it has many shortcomings, particularly with rebasing, and managing stacked pull requests.
The Graphite CLI simplifies git, handles rebasing automatically, and allows you to create, submit, and stack pull requests right from the command line.
Under the hood, the CLI runs Git to create branches, commits, and metadata, which means you can still use Git in your scripts, tooling, or whenever you feel like it. Read more about installing the Graphite CLI in our docs.

Step 2: Check out the target branch
Switch to the branch where you want to apply the changes.
git checkout target-branch
Step 3: Cherry-pick the specific file or folder
To cherry-pick a specific file or folder from the commit, use the following command format:
git checkout <commit-hash> -- <path-to-file-or-folder>
Replace <commit-hash> with the commit hash you found in step 1, and <path-to-file-or-folder> with the path to the specific file or folder you want to include in your current branch.
For example, if you want to cherry-pick the file example.txt from commit abc123, you would use:
git checkout abc123 -- example.txt
This command brings the specified file from the commit on the source-branch to your working directory in the target-branch.
Step 4: Commit the changes
After cherry-picking the file or folder, it will appear as a change in your working directory. You need to commit this change to make it a part of your branch’s history.
git add .git commit -m "Cherry-picked specific file from commit abc123"
Step 5: Handle conflicts
If the cherry-pick results in conflicts (perhaps because of changes in the target branch that affect the same lines of code), you'll need to resolve these conflicts manually. Open the conflicting files and make the necessary adjustments, then use git add to mark them as resolved, and commit the changes.
For a more in-depth walkthrough on handling conflicts, see this guide on resolving Git merge conflicts.
Best practices and tips
- Use cherry-picking judiciously: Since cherry-picking can lead to duplicate changes across branches, it's best used sparingly, particularly when dealing with critical fixes.
- Always review changes: Before committing, always review the changes brought over by the cherry-pick to ensure they integrate smoothly with your branch.
- Document your cherry-picks: Especially in collaborative environments, document when and why you cherry-picked certain changes to help maintain clarity in the project’s version history.
For further reading on the git-cherry-pick command, see the official Git documentation.