Pull request checks help teams automate code review, testing, and integration processes. This guide provides an overview of how to configure pull request (PR) checks in GitHub, utilizing both GitHub’s native capabilities and third-party continuous integration (CI) tools.
What are pull request checks in GitHub?
Pull request checks are automated tests that run when changes are pushed to a pull request. These checks can include linting, unit tests, integration tests, and other custom scripts that validate the quality and functionality of the code before it is merged into the main branch.
Setting up pull request checks in GitHub
Step 1: Choose the right tools for your checks
The first step in setting up PR checks is to choose the tools that align with your project's needs. Popular options include:
- GitHub Actions: GitHub's integrated CI/CD service that can be used to automate, customize, and execute your software development workflows directly in your repository.
- Travis CI, CircleCI, and Jenkins: Third-party CI tools that integrate well with GitHub and can be configured to run checks on pull requests.
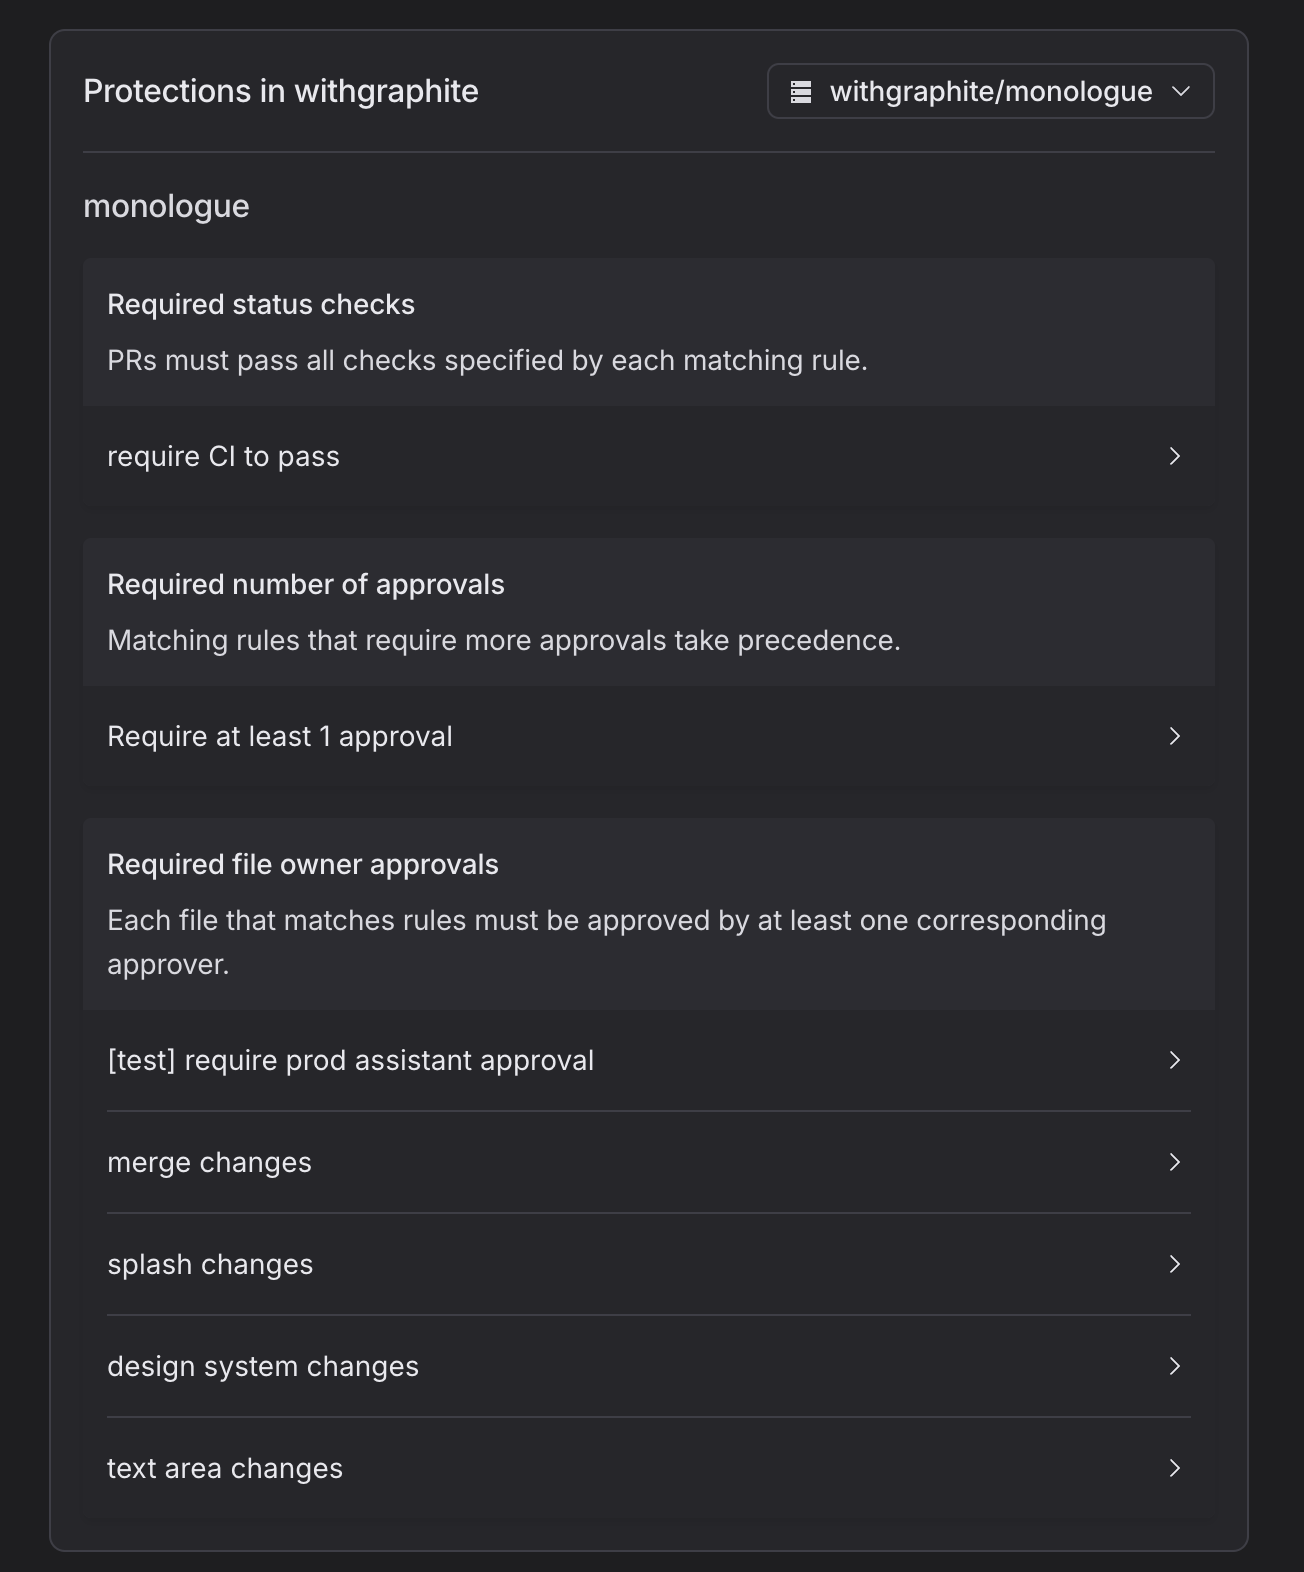
- Graphite Protections: Graphite Protections offers fine-grained control over PR mergeability based on file path, language, team, and more. It is a drop-in replacement for branch protection rules, rulesets, and CODEOWNERS.
Step 2: Configure pull request checks
While you can implement pull request checks in GitHub Actions, doing so can require creating and maintaining complex GitHub Actions workflows.
To simplify your pull request workflow without the need for creating and maintaining workflow files you can implement Graphite Protections. Graphite Protections offers a robust alternative to both standard GitHub branch protection rules and checks configured by GitHub Actions. Follow these steps to configure Graphite Protections in your repo:
- Ensure Graphite integration: Make sure your organization has installed the Graphite GitHub app. This is necessary to enable Graphite Protections.
- Set up Protections: Navigate to the 'Protections' page within the Graphite web app. Here, you can use the visual editor to establish and tailor protection rules according to your project needs:

- Define required CI checks, specify the number of necessary approvals, and identify necessary file approvers.
- Apply these requirements globally to all PRs within a repository or specifically to PRs that match certain criteria, such as PR author, file paths affected, or specific labels.
For instance, to ensure that only front-end teams can approve changes impacting the front-end code, you might set up a protection that requires CI checks related to front-end tests to pass and approvals from designated front-end team members.
- Optional overrides: You can also define conditions under which these protections can be overridden (e.g., during on-call situations or if the assigned reviewer is out of the office).
Graphite Protections provides a dynamic and granular approach to managing PR merge requirements, enhancing compliance and efficiency particularly in environments with complex or large codebases such as monorepos.
Step 3: Integrate and verify protections
After setting up your Graphite Protections, integrate them into your PR process and verify their functionality:
- Integration: Add the configured protections directly into your PR workflows. Graphite will continuously evaluate PRs against these protections, only allowing merges when all criteria are met.
- Verification: Use the PR side panel in Graphite to monitor the protection status. PRs that meet the protection criteria will be flagged as mergeable. Conversely, if criteria are not met, both Graphite and GitHub users will see status checks preventing the merge.
These steps replace traditional CI configuration files and branch protection settings in GitHub, streamlining your PR review and merge process while ensuring that all changes meet the defined standards before they can be integrated.
Step 4: Use the GitHub pull request checks API
For advanced configurations or to integrate custom tools, you can use the GitHub Pull Request Checks API. This API allows you to create, update, and manage checks directly, providing detailed feedback on the PR discussion page.
Example of setting up a PR build check
Here’s a simple example using GitHub Actions to run a build check when a pull request is made:
- Create a workflow file as described above.
- Configure the workflow to build your project (assuming a Node.js project):Terminalsteps:- uses: actions/checkout@v2- name: Use Node.jsuses: actions/setup-node@v2with:node-version: '14'- name: Install dependenciesrun: npm install- name: Build projectrun: npm run build
Configuring pull request checks in GitHub can significantly improve the reliability and quality of your software development process. By automating tests and builds, you ensure that all code merged into your main branches meets your project's standards and is less likely to cause integration or deployment issues. Whether you use GitHub Actions or other CI tools, the key is to integrate these checks seamlessly into your development workflow.