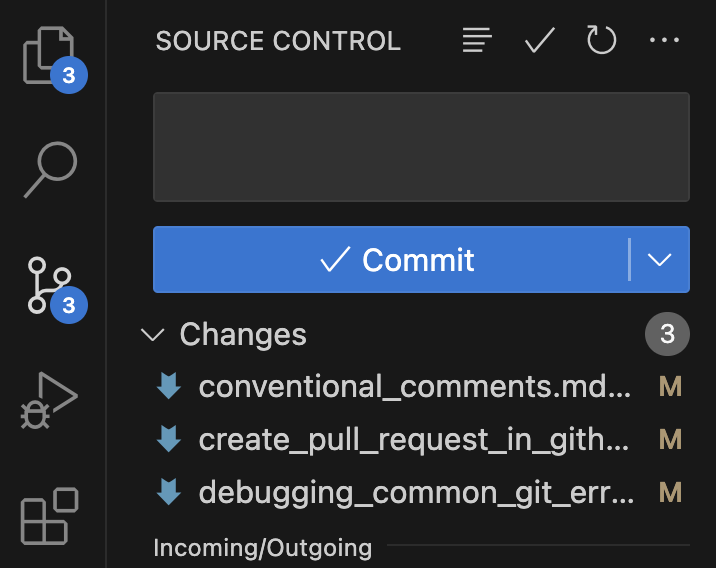
With Visual Studio Code (VS Code), you can easily create and manage pull requests. This guide will walk you through how to create a pull request, highlighting how to leverage the GitHub integration and the Graphite VS Code extension to streamline your process.
Prerequisites
Before diving into creating pull requests, make sure you have the following:
- Visual Studio Code installed on your machine.
- The GitHub repository cloned to your local machine.
- The Graphite VS Code extension installed for enhanced pull request management.
You can install the Graphite extension by searching for "Graphite" in the Extensions view (Ctrl+Shift+X) in VS Code.
Understanding pull requests
A pull request (PR) is a request to merge code changes from one branch to another within a repository. It allows team members to review code, discuss changes, and ensure quality before integrating updates into the main codebase.
Creating a pull request in Visual Studio Code
To create a pull request in VS Code, follow these steps:
Step 1: Create a new branch
Open the terminal in VS Code (Ctrl+`).
Navigate to your project directory.
Create a new branch using the following command:
Terminalgit checkout -b feature/my-featureReplace
feature/my-featurewith a descriptive name for your branch.
Step 2: Make changes and commit
Modify the files as needed for your feature or bug fix.
Stage your changes by running:
Terminalgit add .Commit your changes with a meaningful message:
Terminalgit commit -m "Add new feature"
Step 3: Push the branch to GitHub
After committing your changes, push the branch to your GitHub repository:
git push origin feature/my-feature
Step 4: Create a pull request
Now that your branch is pushed, you can create a pull request. Here’s how to raise a pull request in Visual Studio Code:
- Open the Source Control view (Ctrl+Shift+G).
- Click on the ellipsis (...) in the upper right corner of the Source Control panel.

- Select "Create Pull Request" from the dropdown menu. If you are using the Graphite extension, this option may be prominently displayed.
- Fill in the required fields, including the title and description for your pull request.
- Choose the base branch you want to merge into (typically
mainordevelop). - Click "Create Pull Request".
Managing pull requests in Visual Studio Code
Once you’ve created a pull request, managing it is just as important. Here’s how to do that effectively:
Viewing pull request details
- Open the Pull Requests panel by clicking on the GitHub icon in the Activity Bar.
- Select the pull request you want to review.
You’ll see details such as the code changes, comments, and the ability to approve or request changes.
Commenting and collaborating
You can add comments directly on the pull request to facilitate discussions:
- To comment on a specific line, hover over the line in the "Files changed" tab and click the "+" icon.
- Type your comment and submit it.
Merging a pull request
To merge a pull request:
- Navigate to the pull request you wish to merge.
- Click the "Merge" button once reviews are complete.
- Confirm the merge action.
Using the Graphite VS Code extension
The Graphite VS Code extension provides a user-friendly interface for viewing and managing PRs directly in VS Code. With the Graphite extension, you can:
- Visualize and manage your stacks within your IDE
- Create new branches
- Modify existing branches
- Submit pull requests
- Sync your trunk branch
- Get first-class support for stacking
Summary
Creating and managing pull requests in Visual Studio Code, as well as leveraging Graphite, can make your development process more efficient. By handling these tasks directly within VS Code—whether you're learning to create pull requests on GitHub or looking to enhance your practices—you can manage code changes more effectively.