If you were to send a new email, what’s the first thing you would do? Open a new email compose window. If you were to start a new slide deck, the first thing you would do is open your PowerPoint equivalent of choice and start a new deck.
So, pop quiz: if you want to start a new version-controlled code project, what’s the first thing you would do?
Start a new Git repository.
As part of our ongoing series of beginner resources, covering different features of Git and the version control ecosystem, we’re covering everything you might want to know about Git and how it works. Today, it’s back to basics, with the first thing you do on any project. Initializing a new Git repository is the Git equivalent of opening a new file or pulling out a new piece of paper to start working on anything else.
What is a Git Repository?
First, let’s talk conceptual. What is a Git repository?
A repository is similar to a folder on a computer. It’s a location. Every Git-controlled project (on GitHub, Bitbucket, a private network, or even your local device) uses at least one repository as the place where the magic happens.
On a local device, your Git repository is stored in a folder within the project folder, named .git. This subfolder stores file information and history for your project according to your use of Git version controls.
When you create a new repository on a service like GitHub, they’re the location where your version control history is stored. The most recent full versions of each file in the project, along with any history of commits and the information necessary to reconstruct those files at that point in time, are stored in the repository.
There are two types of repositories:
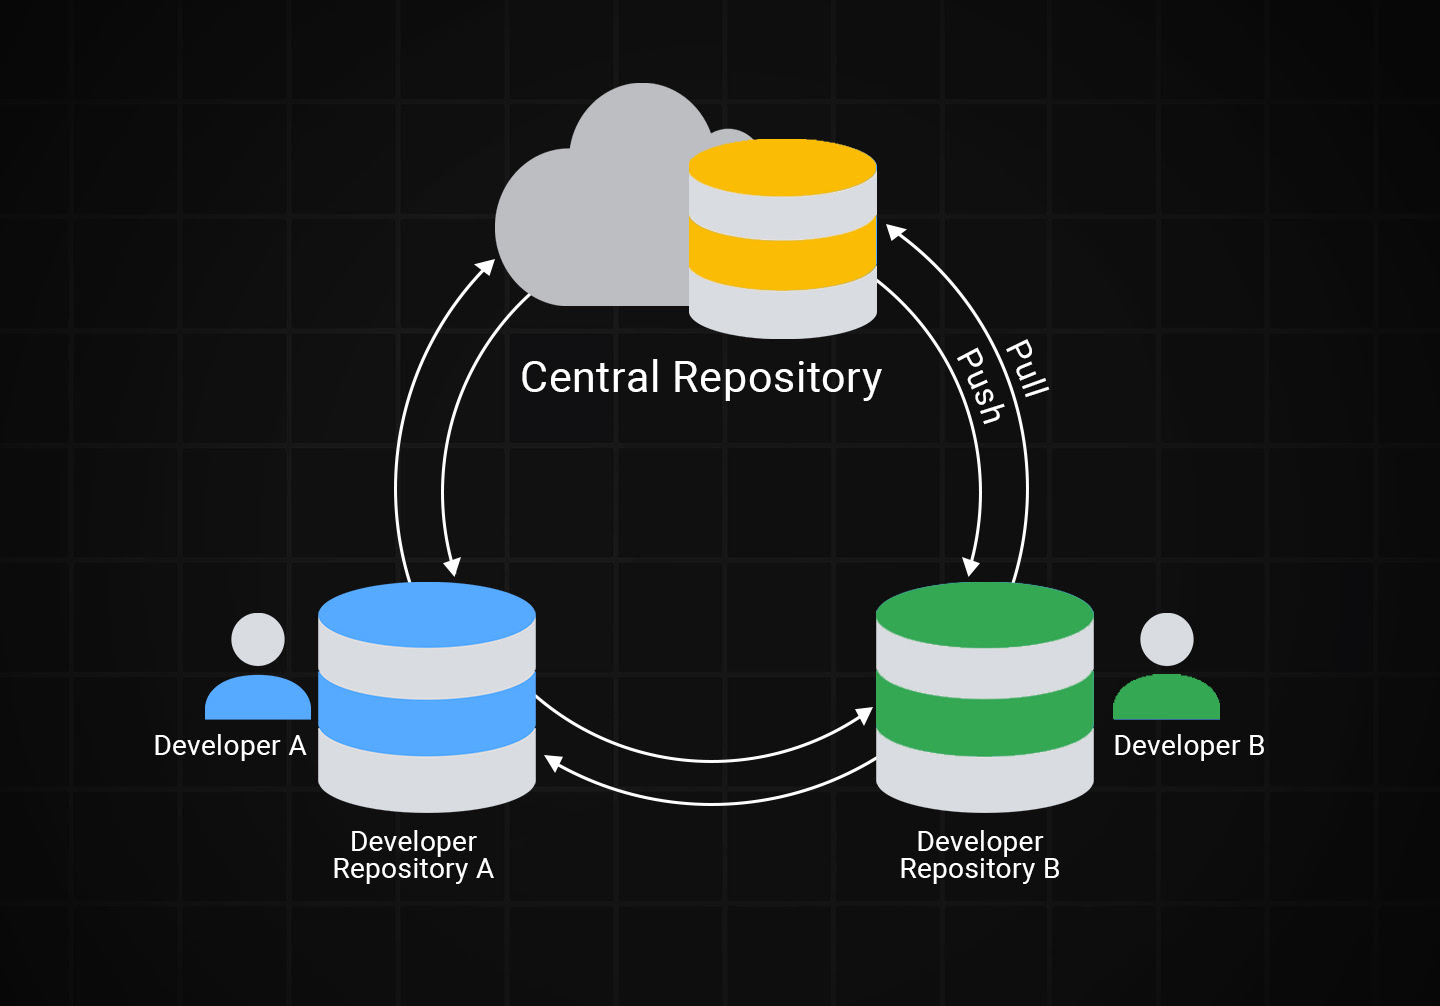
Bare. A bare repository is a repository stored on a server or other remote location. This repository does not have a working directory – that is, a primary folder in which project files are stored. Instead, it simply contains versioned data and the history of your files using Git commits. Bare repositories are used for shared development and collaboration, to push and pull changes from numerous local repositories, but as they do not contain the full files and data, they cannot be used to directly edit files or create new builds.
Non-Bare. A non-bare repository is a full, working repository. These are bare repositories with the working directory attached. When you have a local copy of your repository with all of the files to work on, this is a non-bare repository. It allows for builds and testing changes. These are also the default kind of repository; to make a bare repository, you need to use a command modifier, but more on that later.
You don’t need Git to work on and create a coding project. However, using Git allows you to collaborate more smoothly, maintain a history in case changes or features need to be rolled back, and retain iterative information about the history of the project as a whole. For large, multi-collaborator projects, this can become a very immense resource, which is both useful and clunky, but that’s a discussion for another time.
What Do You Need to Create a Git Repository?
Creating a Git repository is as simple as running a single command, but knowing when, where, and how to run that command is not as simple as you might think.
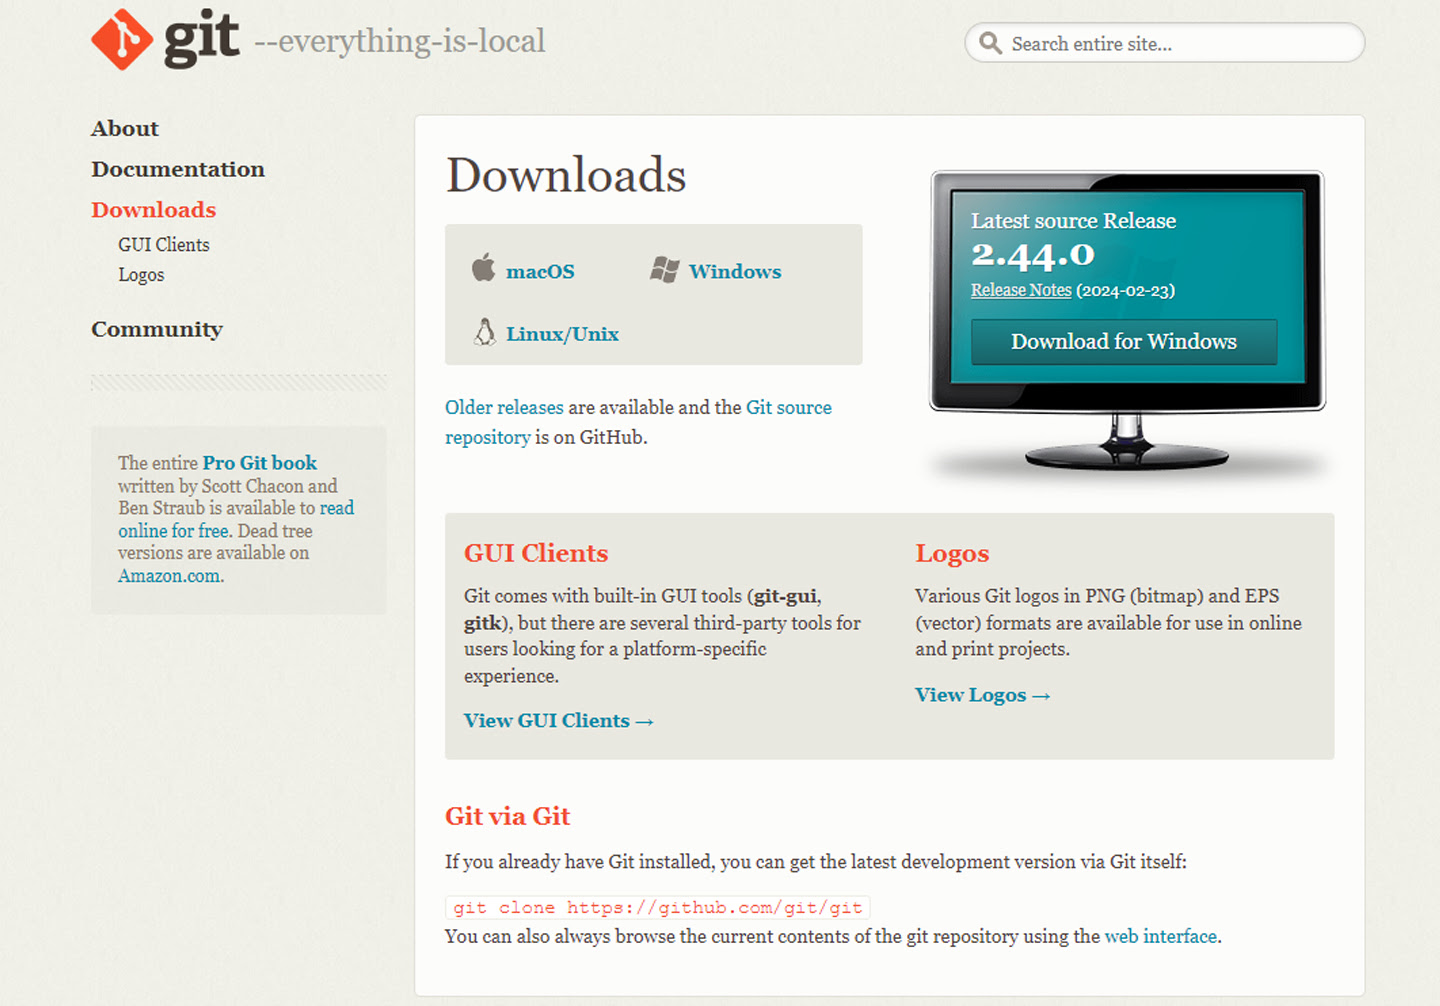
Fortunately, you don’t need much to create a repository. In terms of tools, all you truly need is an installed copy of Git itself. Without Git, you can’t use Git, after all.
Other than that, you need information.
Where is your project located on your computer?
What name do you want your project to have?
What other services, such as GitHub, are you using?
When you have this information on hand, you’re essentially ready to go.
How to Create a Git Repository
If you want to make an apple pie from scratch, you must first invent the universe. Fortunately, if you want to make a Git repository from scratch, all you need to do is open a Git.
Git, being a command line utility, requires you to navigate using text commands. Thus, the first thing you need to do is make sure your current location in Git is the project folder you intend to track. A common mistake novices make is to simply initialize a new project in a default location, such as the C: drive on Windows. This creates a new project… out of their entire hard drive. Obviously, you don’t need all of Windows, all of your installed programs, all of your system files, and everything you’ve ever saved in your coding project’s history, right?
The command to navigate is cd (for Change Directory), along with the typical command line navigation structure, like using ~ for your home folder.
Note that if you don’t already have a project folder, you should create one. You can do this from the command line, but it’s often easier to simply create it using the standard GUI of your operating system. If you already have a project folder and you’ve created files already, you just need to navigate to that folder.
Once you’ve navigated to your project location, the command to initiate a new Git repository is simple:
$ git init
Init is a one-time-use command that creates a new repository based on the folder you’re currently in. This creates the .git subfolder mentioned above. This is your repository, but as it stands, it has nothing at all in it.
What happens if you run git init a second time? We say that init is a one-time-use command because you only need to use it once per repository you want to create. Running init a second time for an existing project generally doesn’t do anything. If you’ve added new templates, rerunning init can add those templates to the repository directory. Additionally, certain commands can force init to perform additional tasks, such as moving the location of the repository. You don’t need to worry about using init accidentally and overwriting or damaging your project, however.
In order to populate your repository with your project as it currently stands, you need to do two things. The first is to add existing files to your Git index, so it knows what all is in your project. Then, you need to commit those files to the repository. This uses two commands, add and commit.
All in all, your process is four commands.
$ cd /navigate/to/your/project/folder
$ git init
$ git add .
$ git commit
The first line navigates your current location to your project folder. The second line initiates a new git repository in your current project folder. The third adds specified files to your project index, which is the documentation Git maintains to know what is and isn’t part of your project (this way, you can keep files in your project folder that aren’t part of the project, if you need to.) The “.” acts as a wildcard to select every file and folder in the directory. There are plenty of nuances and commands you can use to specify individual files, or groups of files, or ignore specific files, but that too is for another time. Finally, the fourth line commits everything in the index to the repository, “saving” a copy of the repository in your version control system.
Git Init Options
Most git commands have the ability to parse specific options included after the command in the command line. Init has a number of different commands you can use. Let’s take a simple one as an example: quiet.
Normally, when you create a new repository with init, Git will perform the action and then respond with a line or two of information about the repository you’ve created. Using the command --quiet, however, will suppress anything other than error/warning messages.
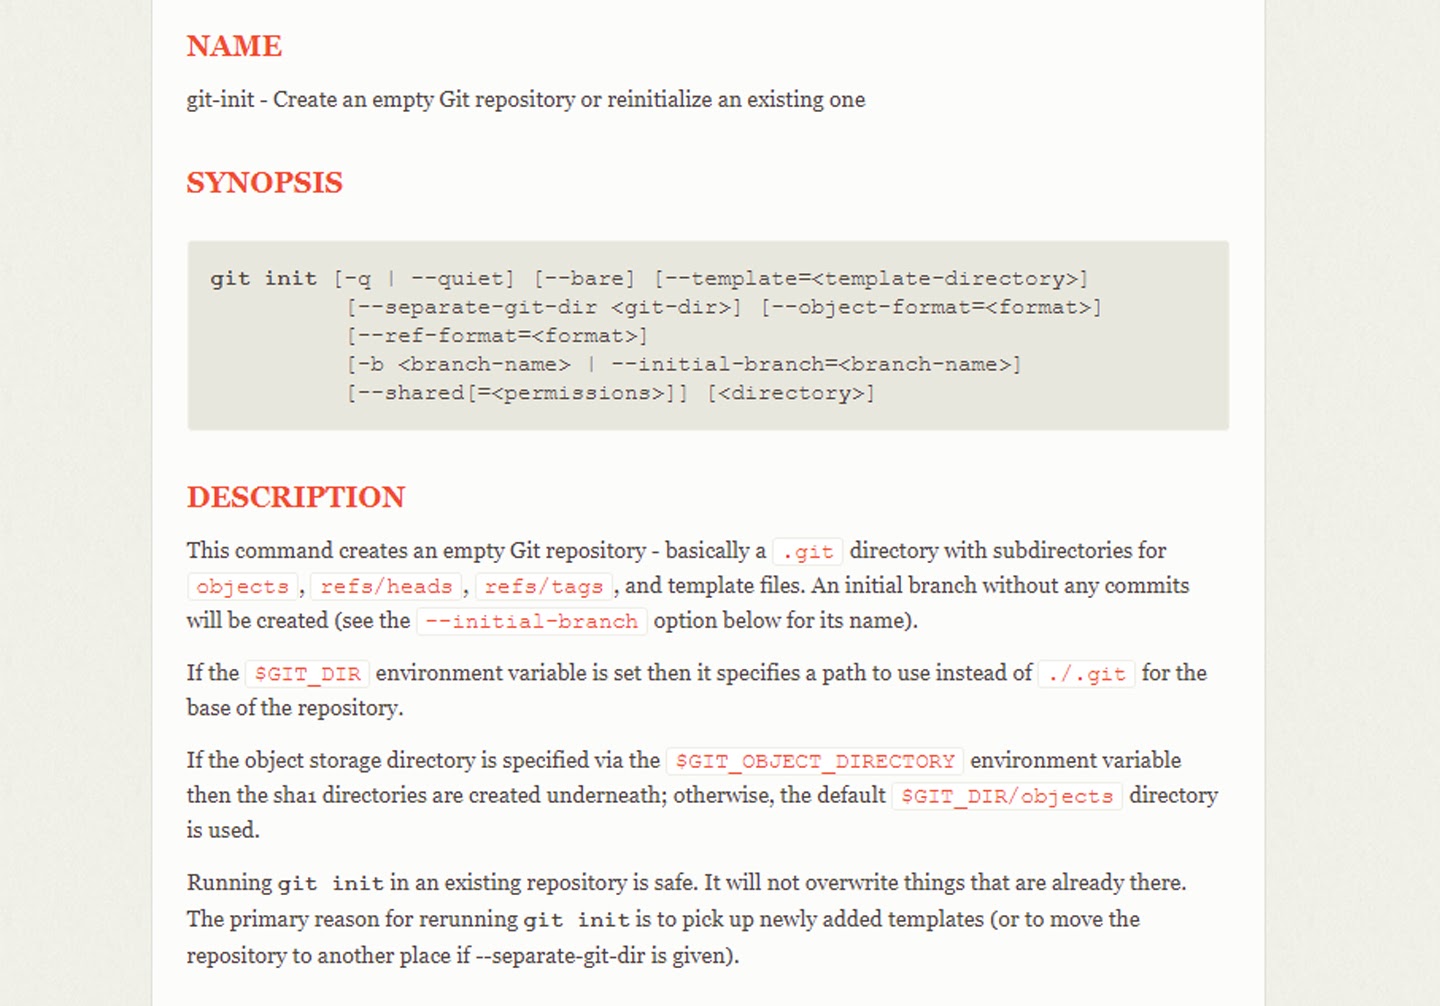
To create a repository without the feedback, the command looks like:
$ git init --quiet
There are a bunch of other options that further control the initialization of your new repository.
--bare is the option to create a bare repository, rather than a non-bare repository, as described up above.
--object-format=<format> allows you to specify an object format, choosing between sha1 and sha256.
--ref-format=<format> specifies the ref storage format.
--template=<template-directory> allows you to specify the template directory if you want something other than the default directory location.
--separate-git-dir=<git-dir> allows you to initiate a new repository in a different location, and in the location your normal Git repository would be, adds a text file that acts as a link to the real repository. If you are running init on an already-initialized repository, this moves the location of the existing repository and leaves the linking text file behind.
--initial-branch=<branch-name> allows you to select the name of the original branch in the repository you create. Historically this has been named master and is eventually going to be changed to main (and already is for many tools using Git), but can be named whatever you choose to name it. The name can be changed later, as well.
--shared is a command that itself has a variety of options, which specify whether or not the project is visible or private, and who can see it if it’s restricted.
You can read more about all of these options on the documentation page here.
Creating and Linking a GitHub Repository
GitHub is the biggest name in remote Git operations and with good reason. It’s a trusted and common location for both public and private collaborative Git-controlled projects.
So far, using the initialization commands above, you have created a local Git repository on your own device. For now, though, no one else can collaborate with you or access that repository unless they have access to your device. Since this is generally not recommended, you want to create a repository on GitHub and link the two.
This process allows you to maintain both your local and remote repositories. The local repository is used for your own local development, and when you have work completed, you can commit that work to the remote repository for collaboration.
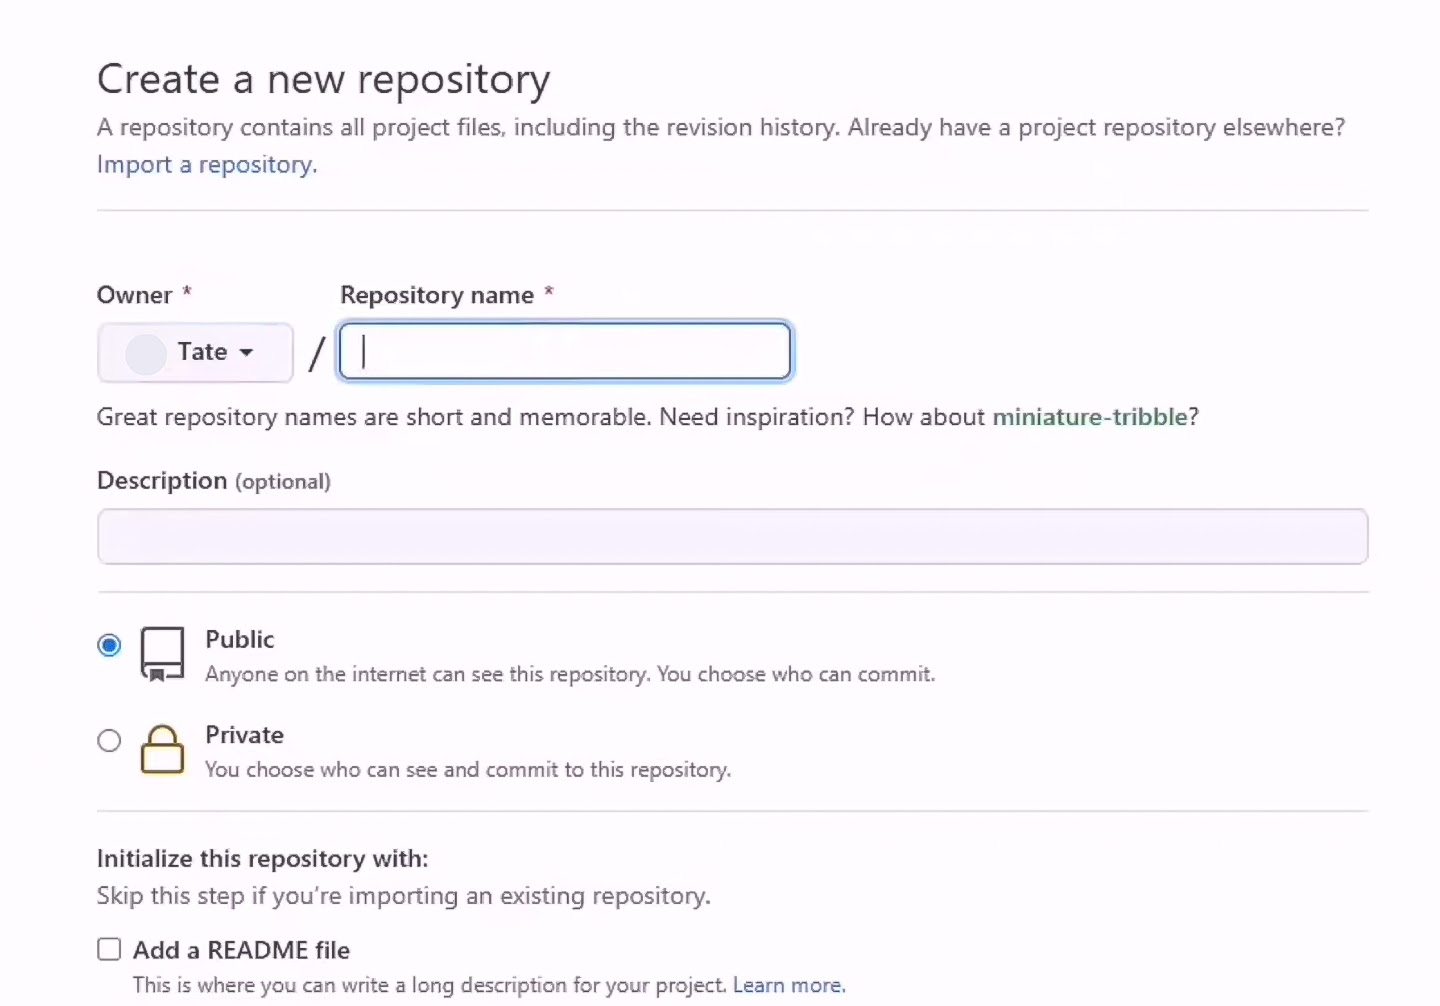
You don’t need to use the command line to create a new repository on GitHub. Instead, all you need to do is log into GitHub.com and, in the upper-right corner, click on the + sign and choose New Repository.
This brings you to a menu where you can specify information about your GitHub repository. This includes any templates you want it to use, the name of the repository (which should likely mirror your local version), a description, and whether or not it’s public or private. You can also choose a license if, for example, you’re working on an open-source project.
Once all of this has been specified, you can click the Create Repository button to create the remote repository.
GitHub will then give you the information – such as the HTTPS or SSH links – necessary to commit to the remote repository. You can use this to create a Remote on your local configuration to make it easier to commit to the remote repository as opposed to your local repository.
Once all of this is set up, you’re ready to start using Git. Now all you need to do is get to work on your project, work with collaborators, manage push and pull requests, learn the ins and outs of forks versus branches, and eventually release a product. Easy, right?
You may find that using Git in general ends up slowing you down. You spend time managing pull requests and handling conflicts, and it all ends up just being a drag on your productivity. Fortunately, there’s an excellent way to speed up and optimize your development process. At Graphite, we’ve created an excellent tool for creating, managing, merging, and otherwise handling your pull requests for any project, large or small.
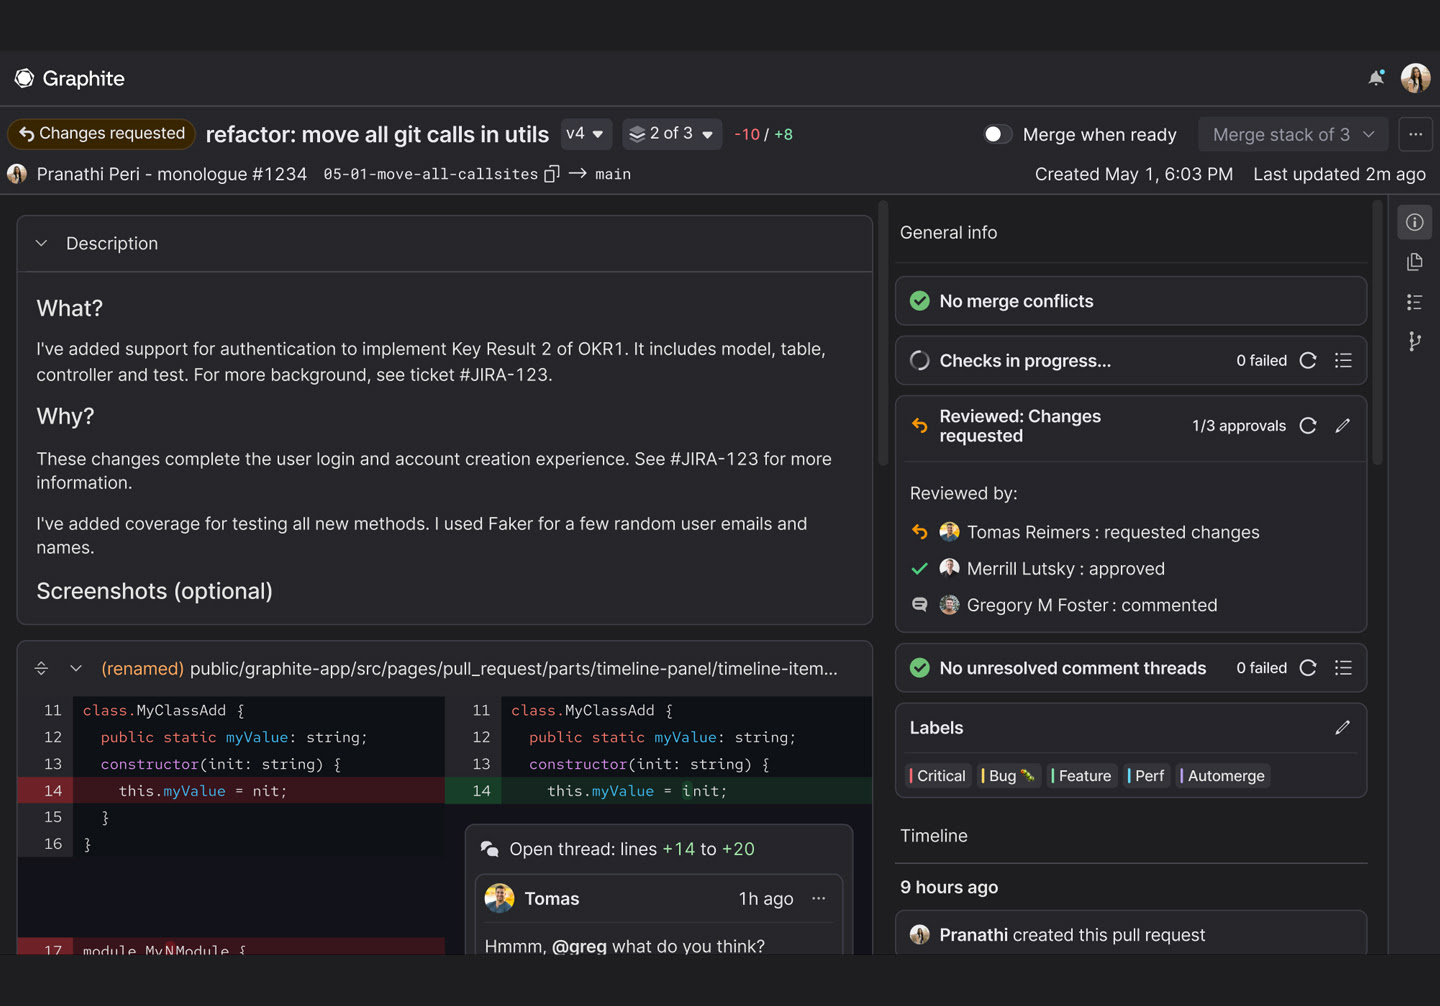
Want to learn more about it, and what it can do for you? You can read our full features page here, check out our in-depth developer documentation, or simply reach out and ask us any questions you may have. We’re happy to help get the ball rolling on faster, more efficient development. Spend less time managing Git and more time working on your project.