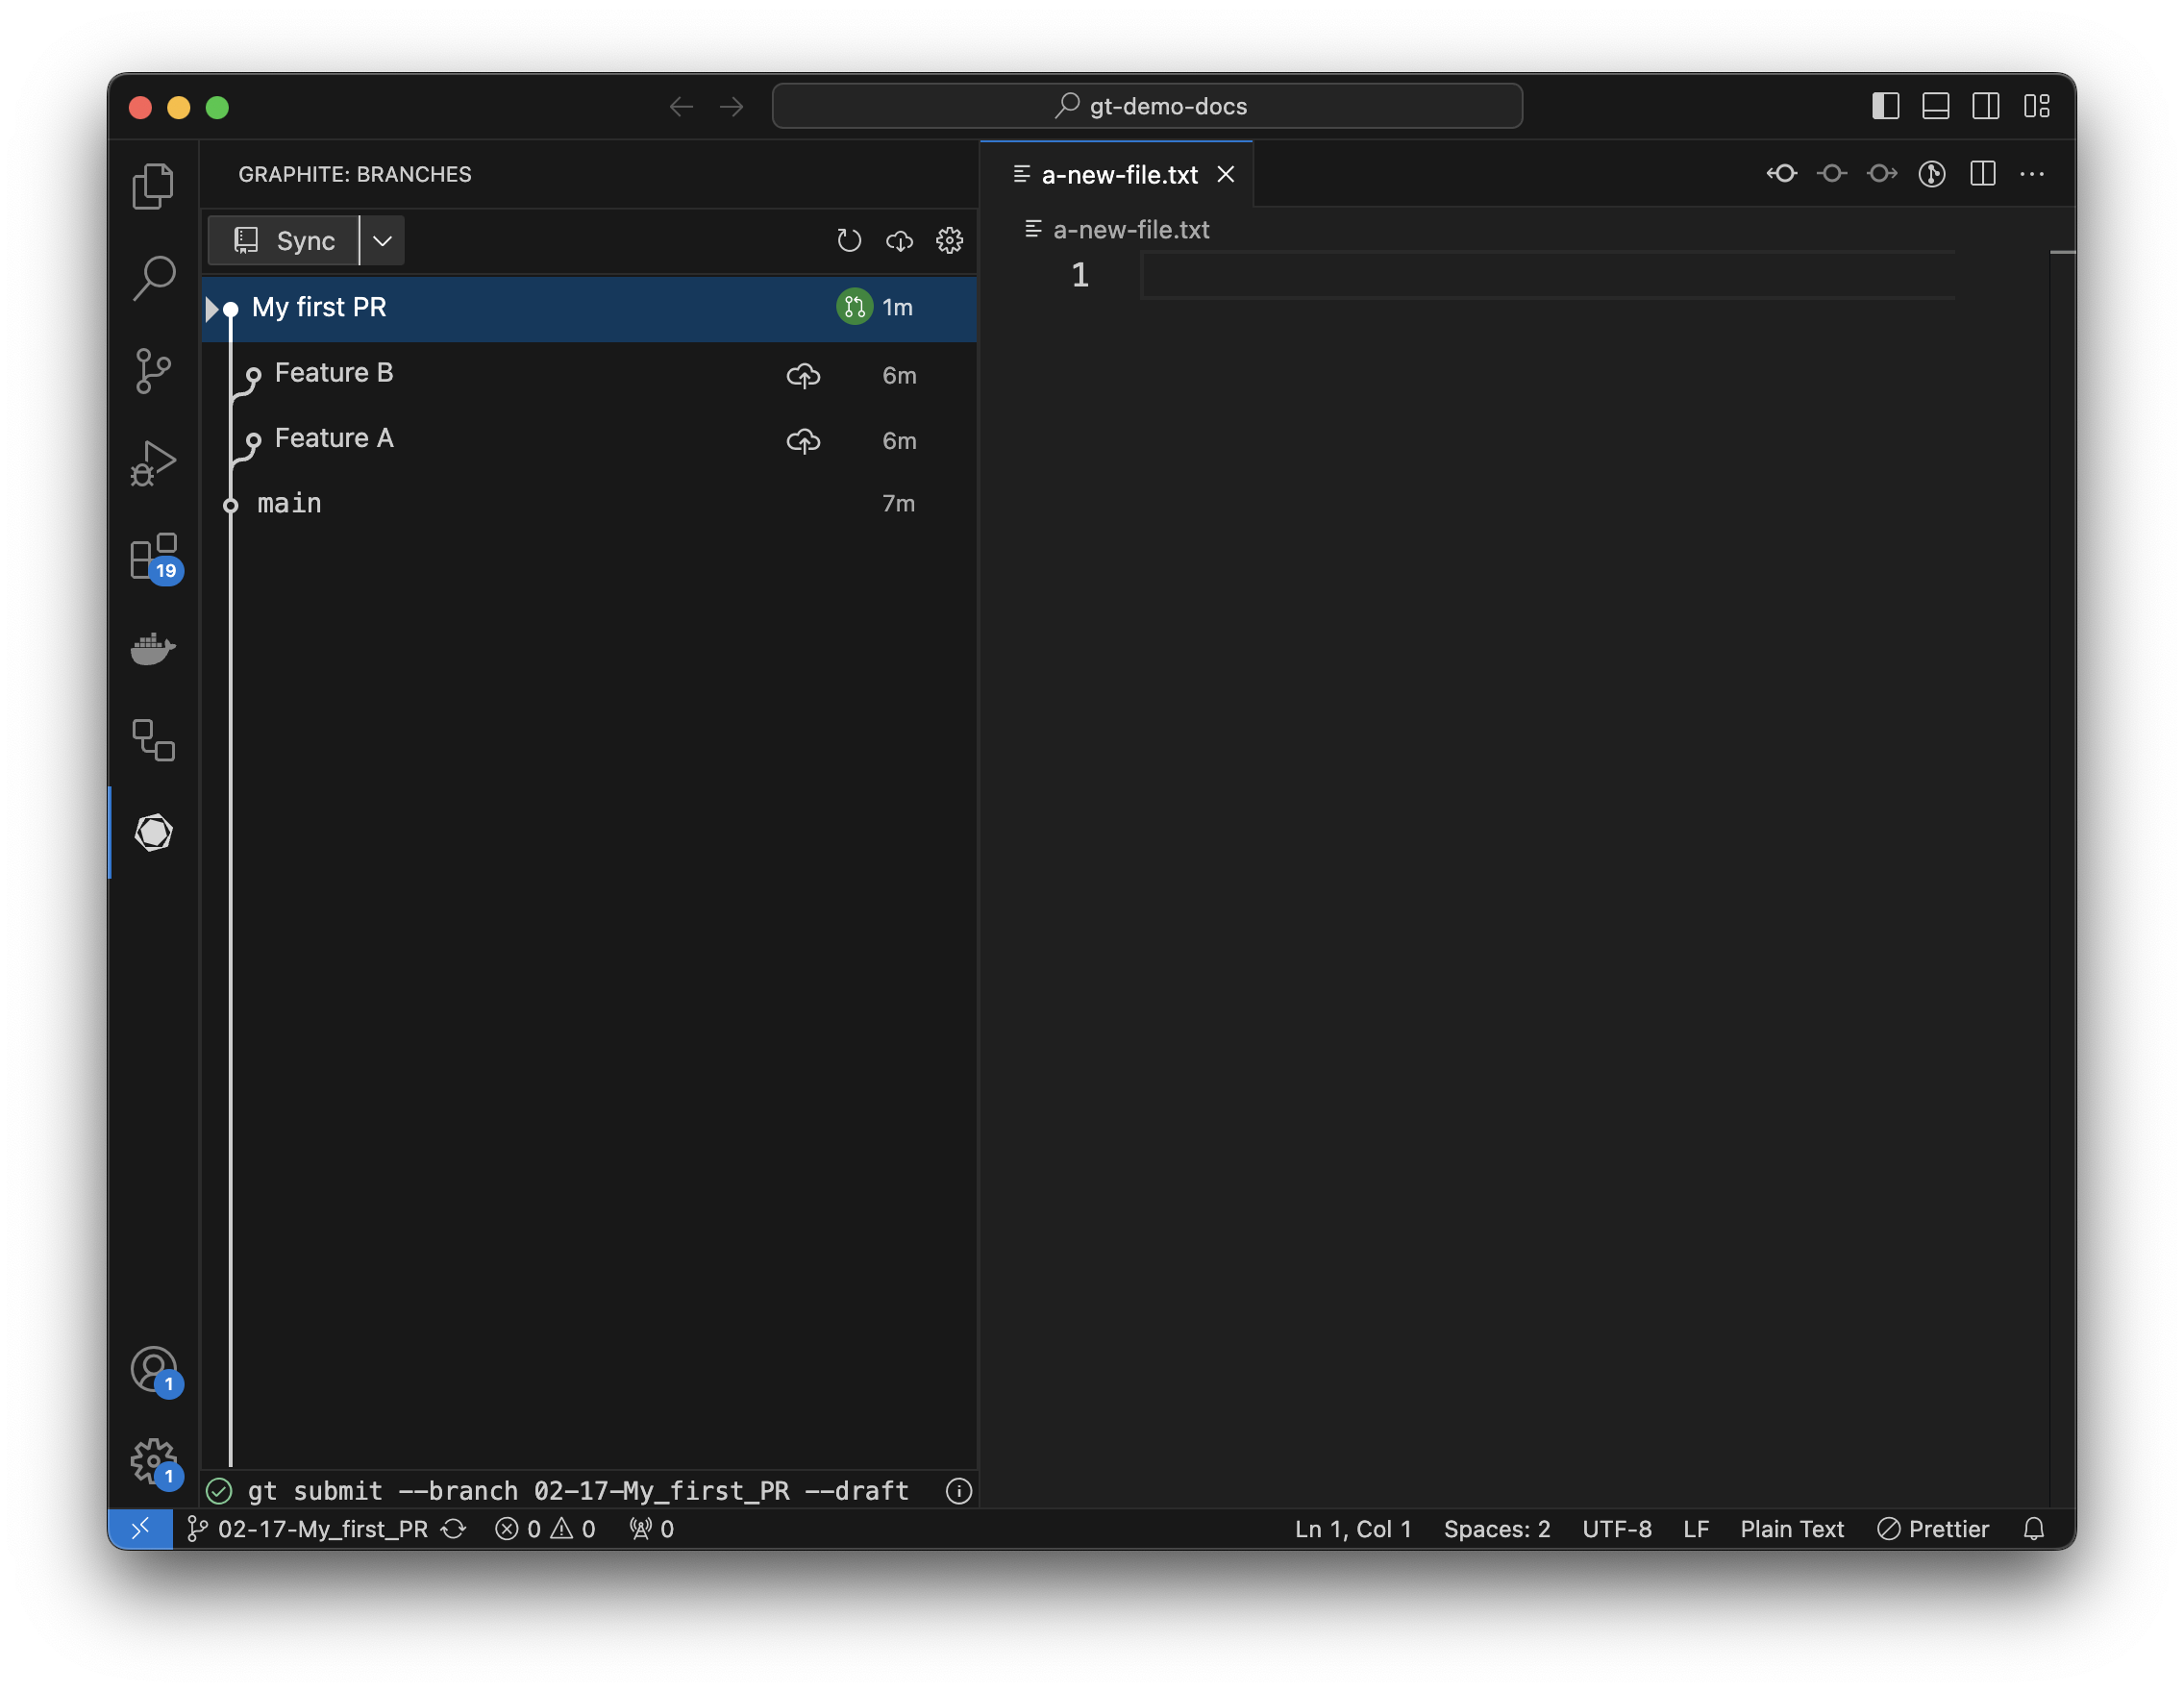
Skip to main contentPrerequisites
Complete the Create a pull request guide, and make sure you’ve:
-
Checked out your first PR
-
Don’t have any uncommitted changes
Stacking
The goal of this guide is to teach you how to stack with the Graphite VS Code extension.
Stacking is a technique to continue developing while you wait for review on PRs. A stacked branch is a branch that is created on top of another branch that is still waiting for review. As that previous branch is updated and ultimately merged into main, Graphite will incorporate those changes into any dependent branches.
If this is confusing now, don’t worry - it becomes clearer as you do it.
Make and stage changes
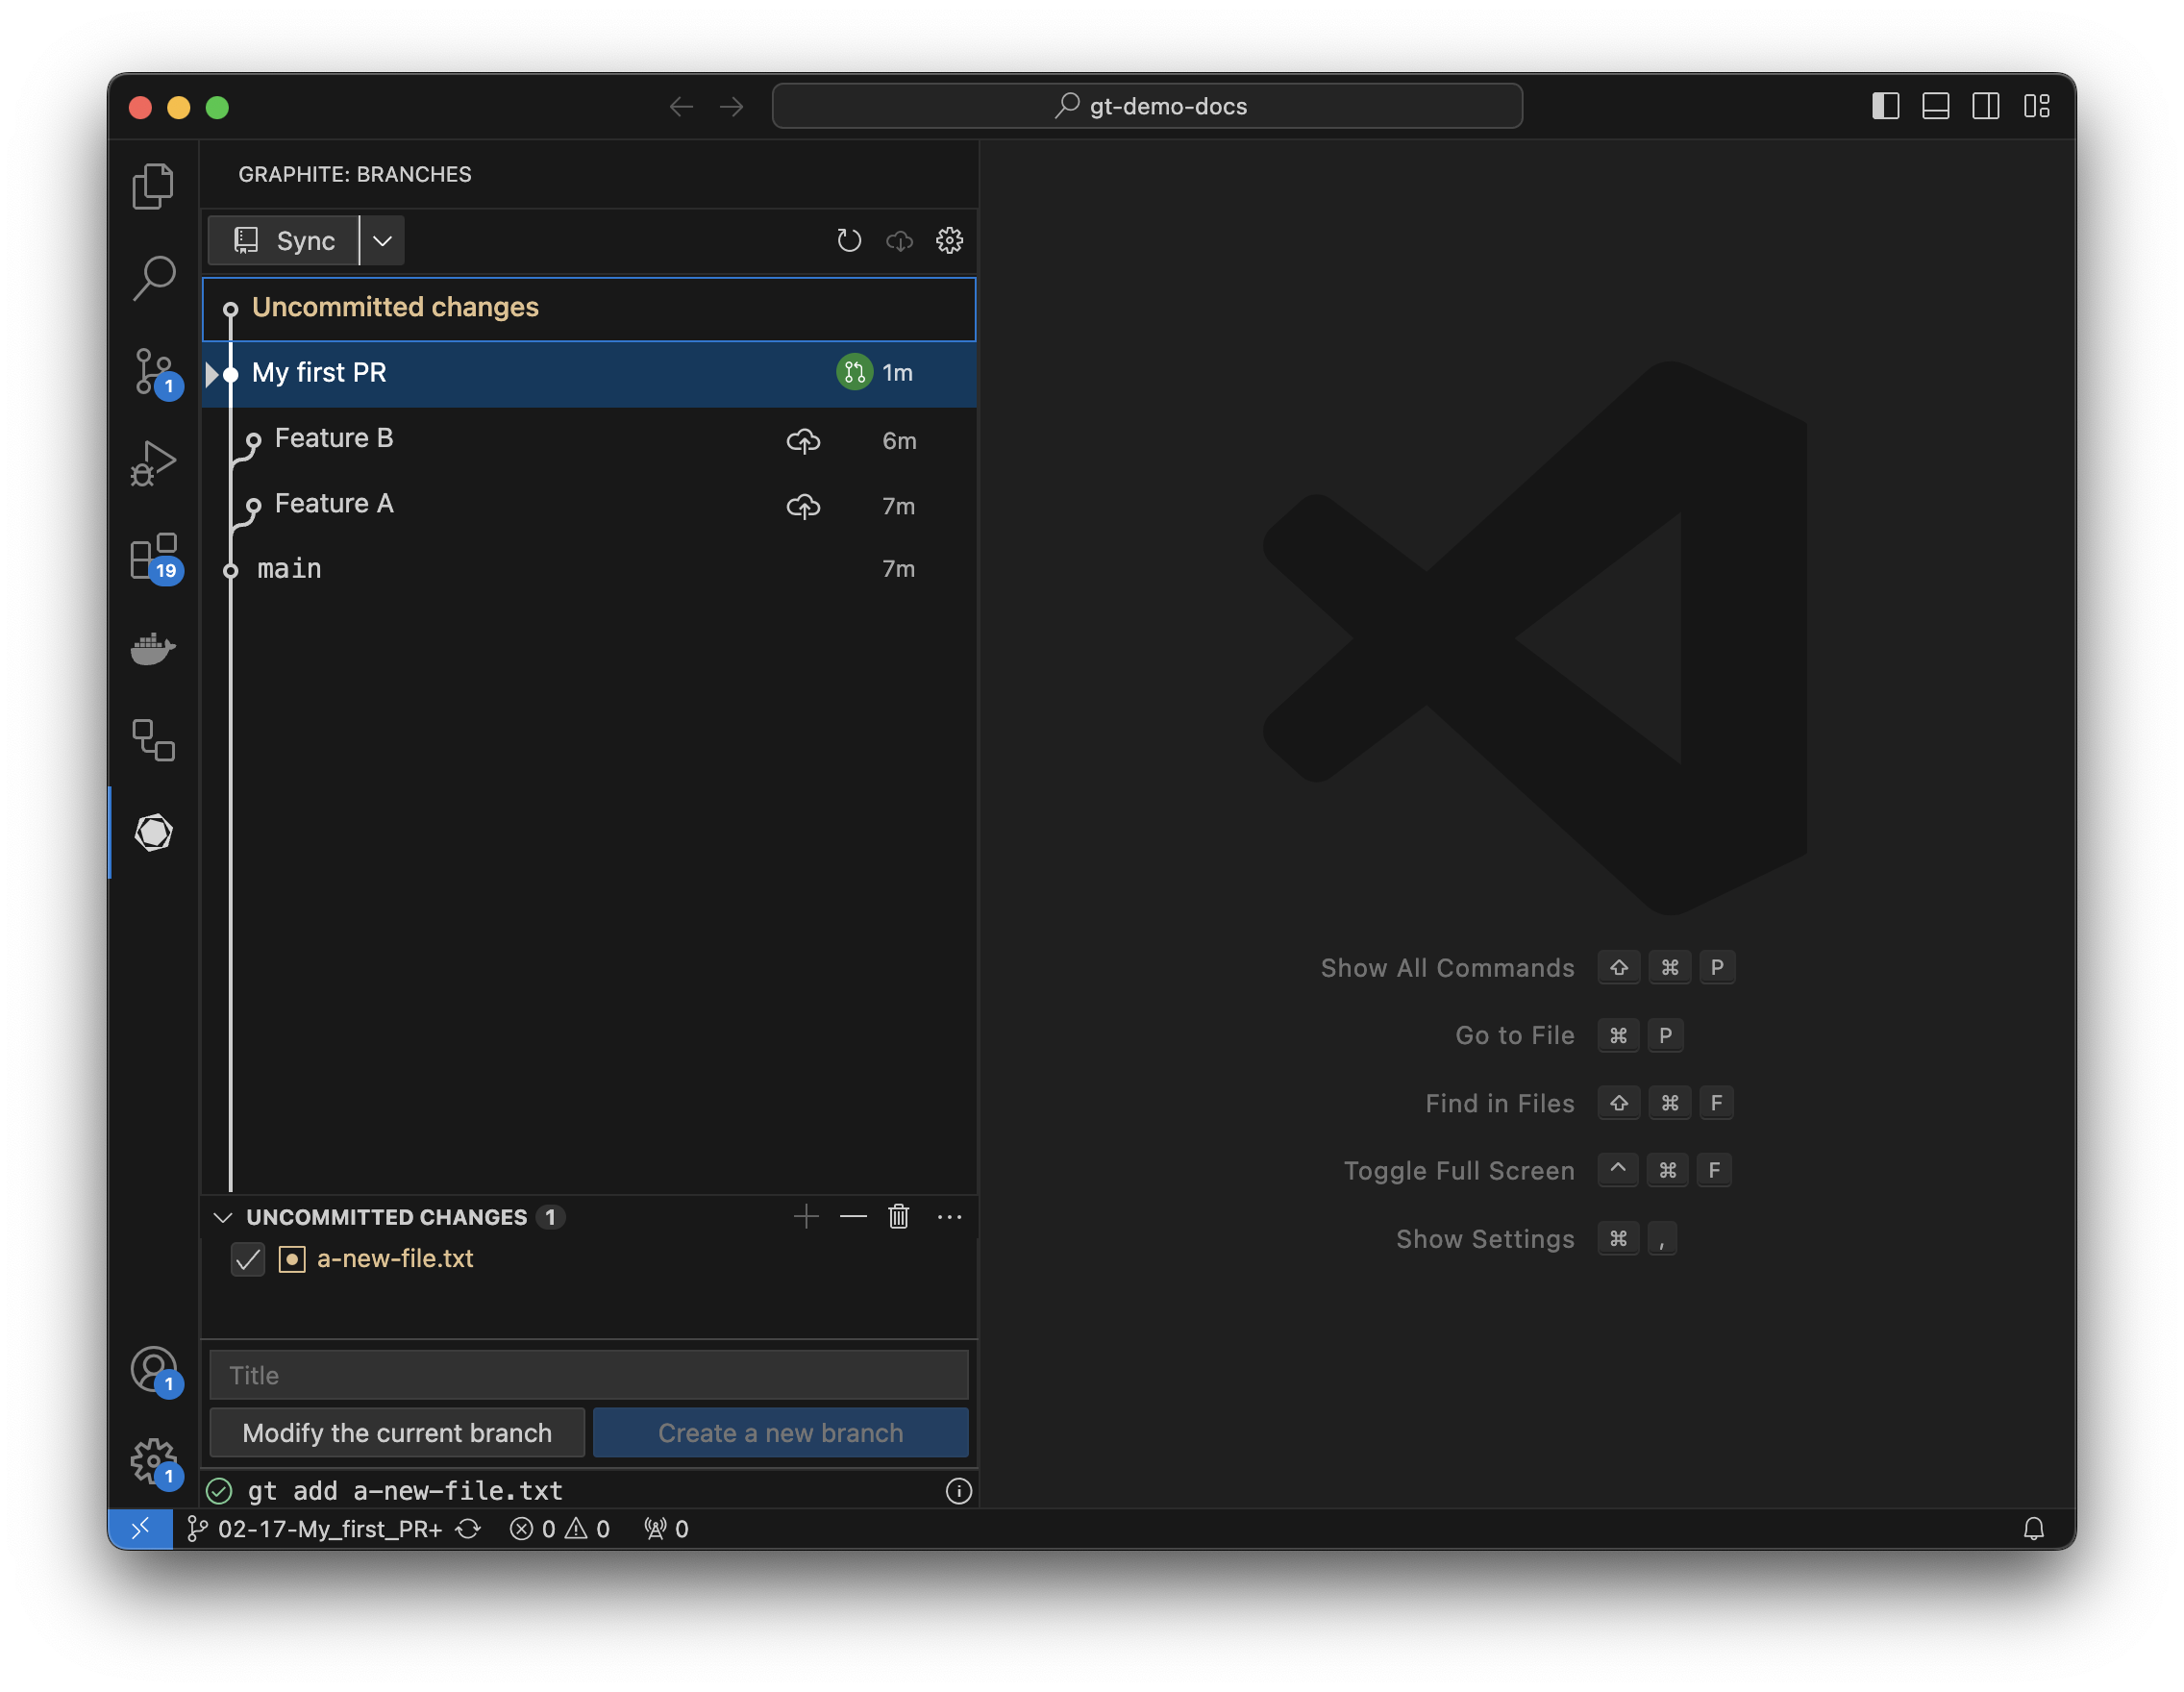
Like in the earlier guide, make changes to your repository, either by adding a file or editing an existing file. That file should now show up under “uncommitted changes” in the extension.
 Select uncommitted changes, and you’ll see all the changed files in your repository (files added, files modified, and files deleted). Clicking the checkbox next to a file allows you to stage it in git (the equivalent of running
 git add).
Create a branch
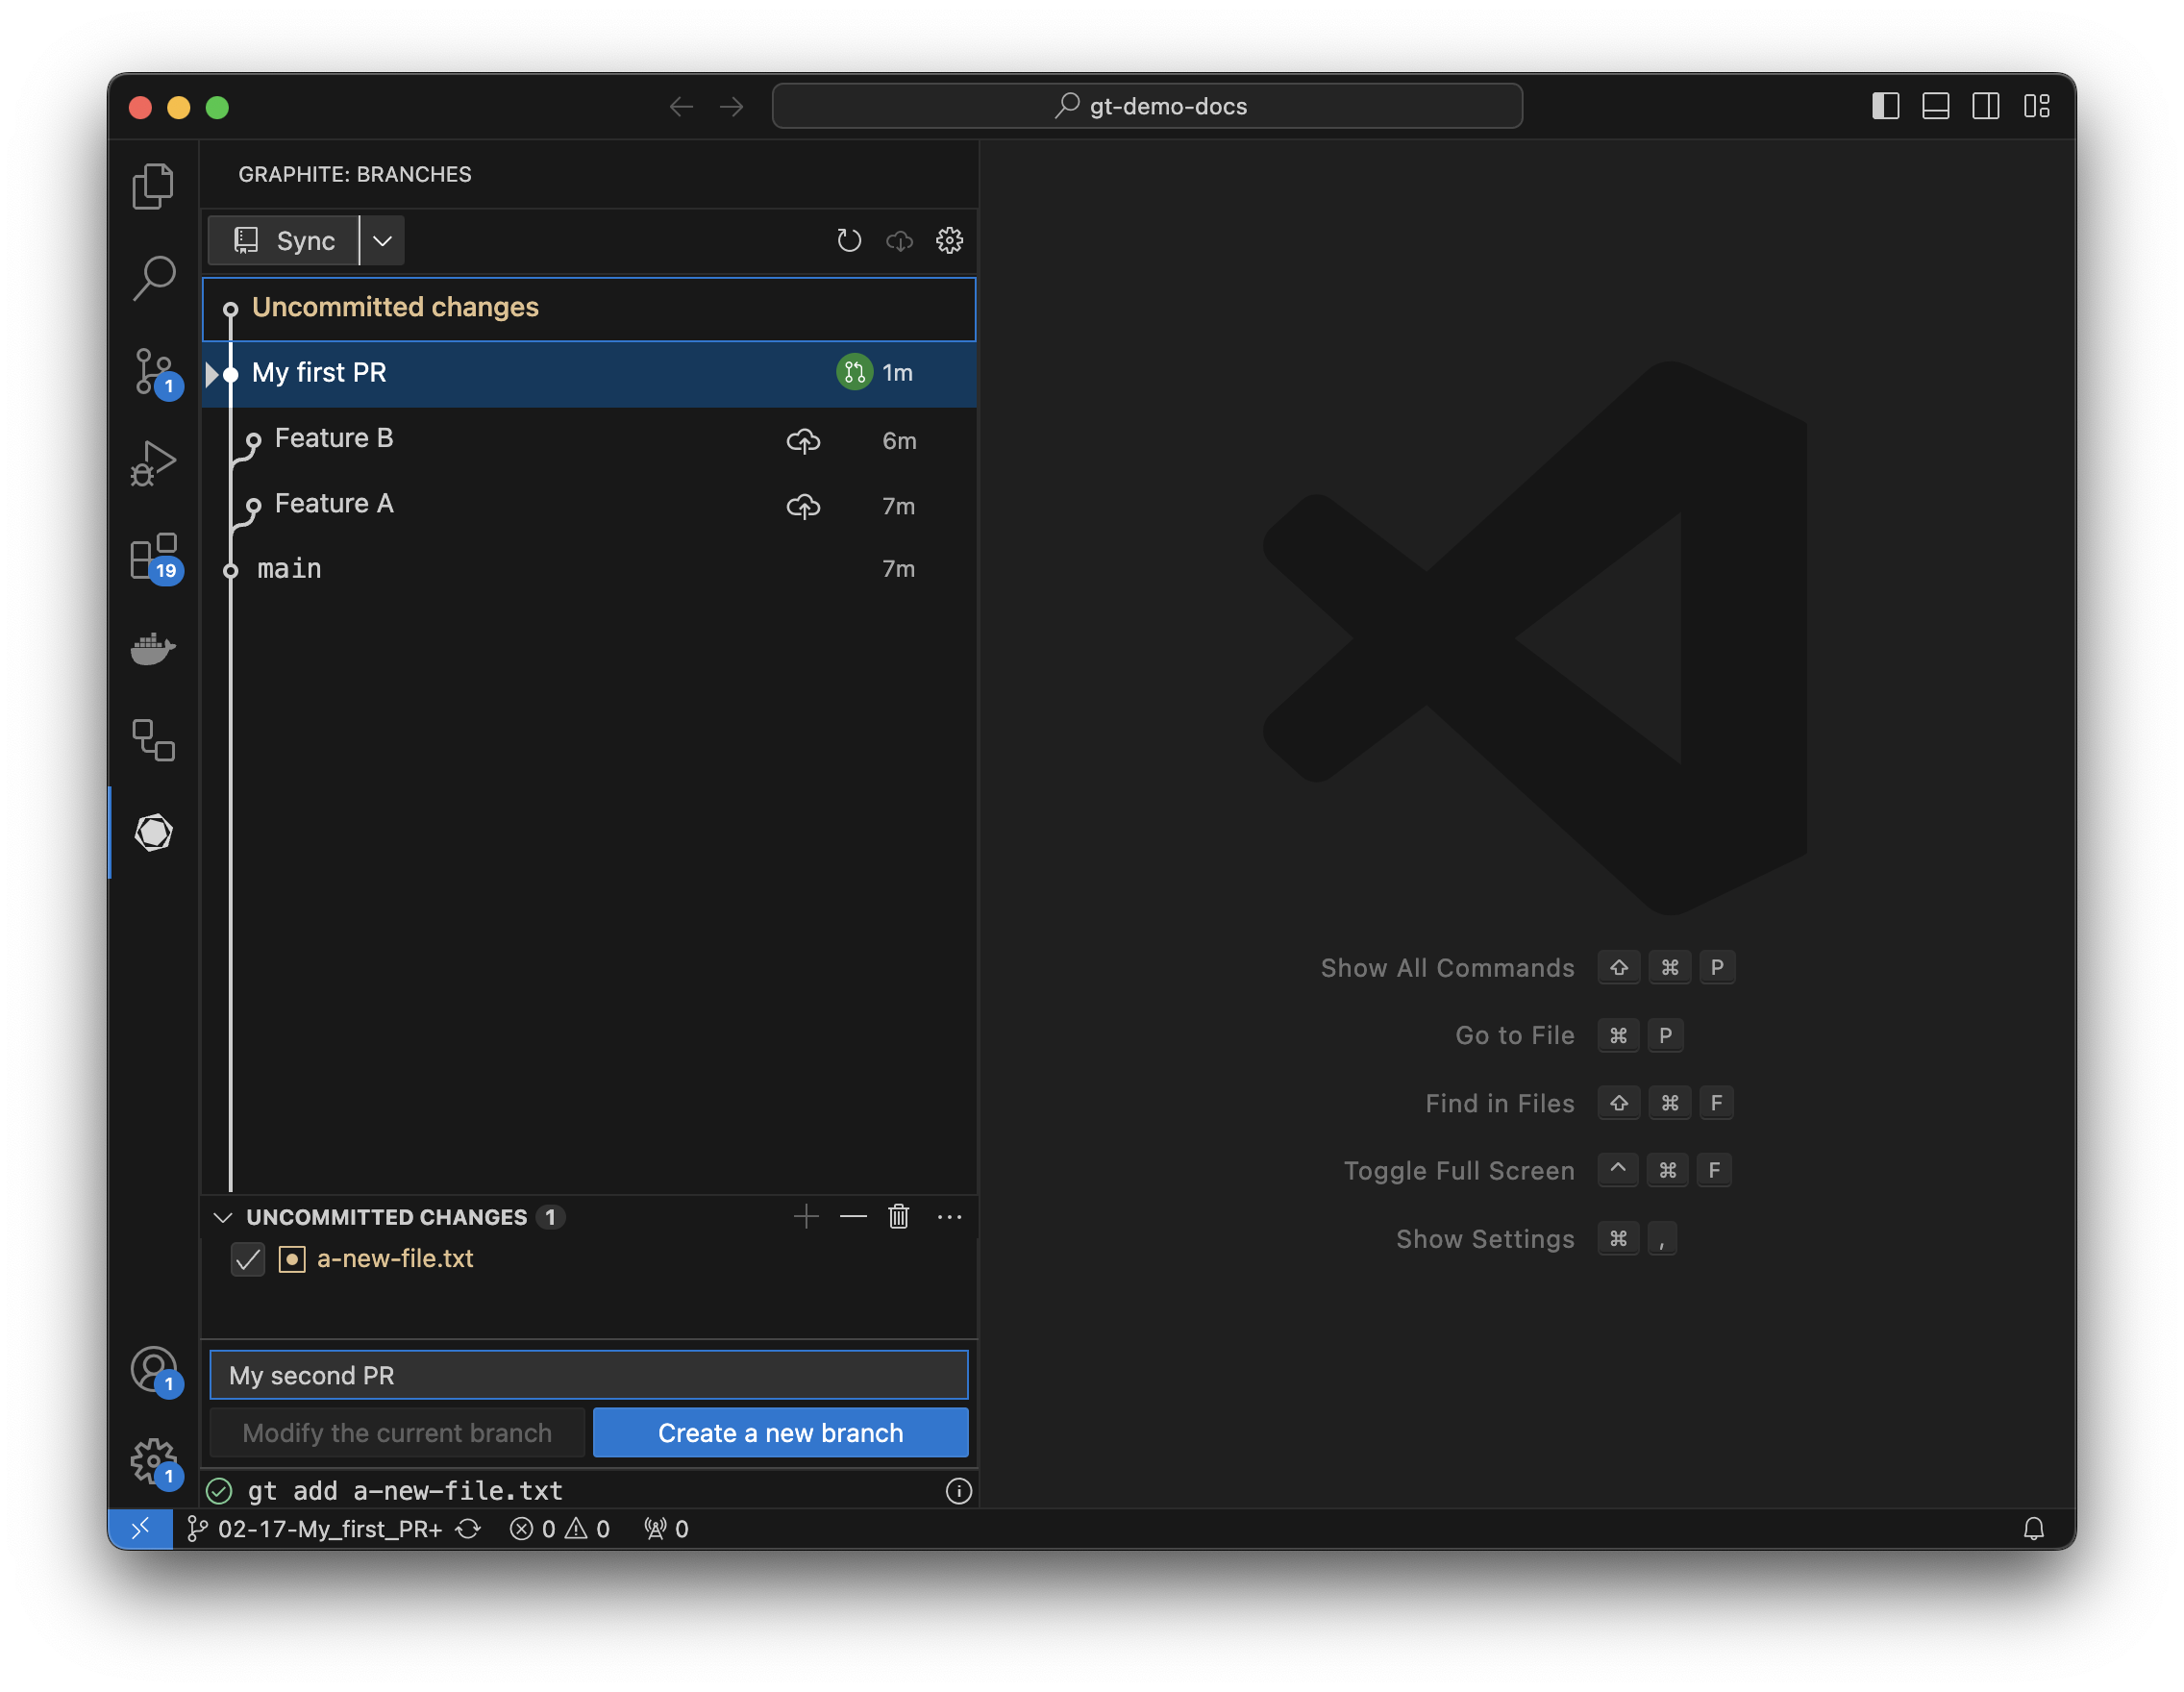
Once you’ve staged changes, you can either modify the existing branch or create a new stacked branch. Enter a commit title and pressing create branch.
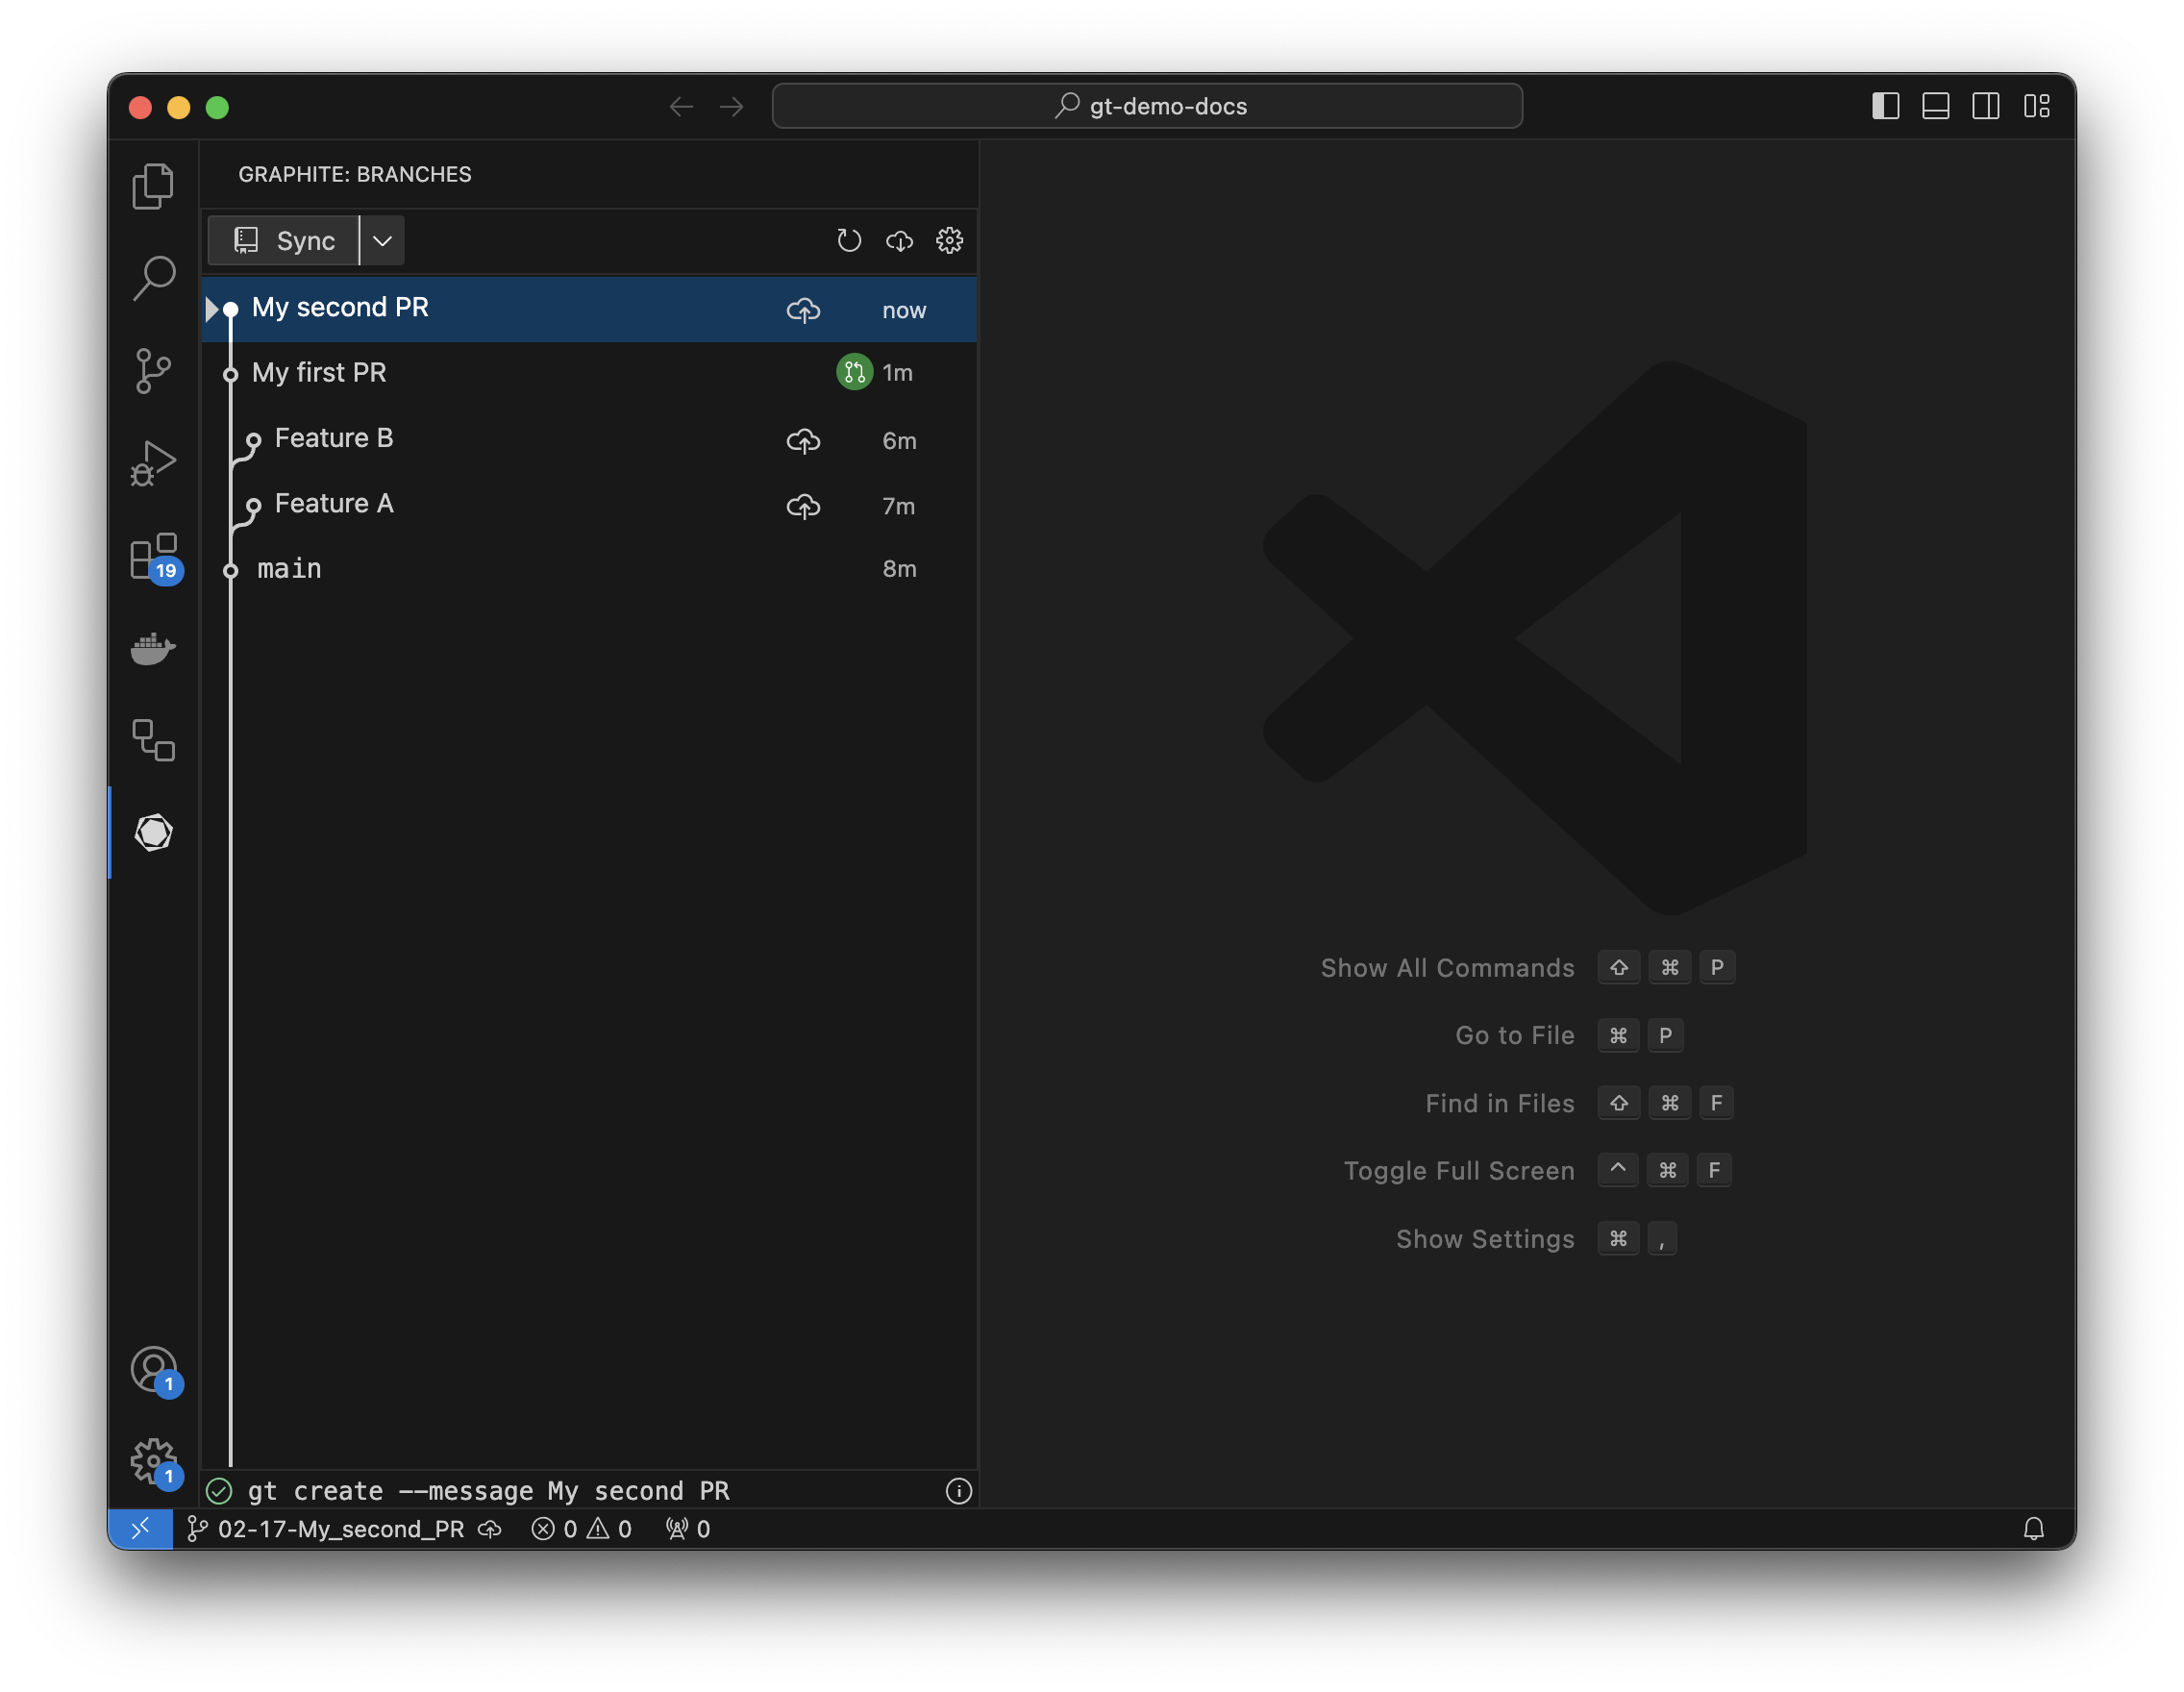
 Your new branch should now show up in the tree as checked out and stacked on top of the first:
Submit your branch
Like the first guide, click the upload button next to your first PR to open a draft PR. After opening the PR, there will be a circle next to the branch showing the PR’s status (in this case it’s open).
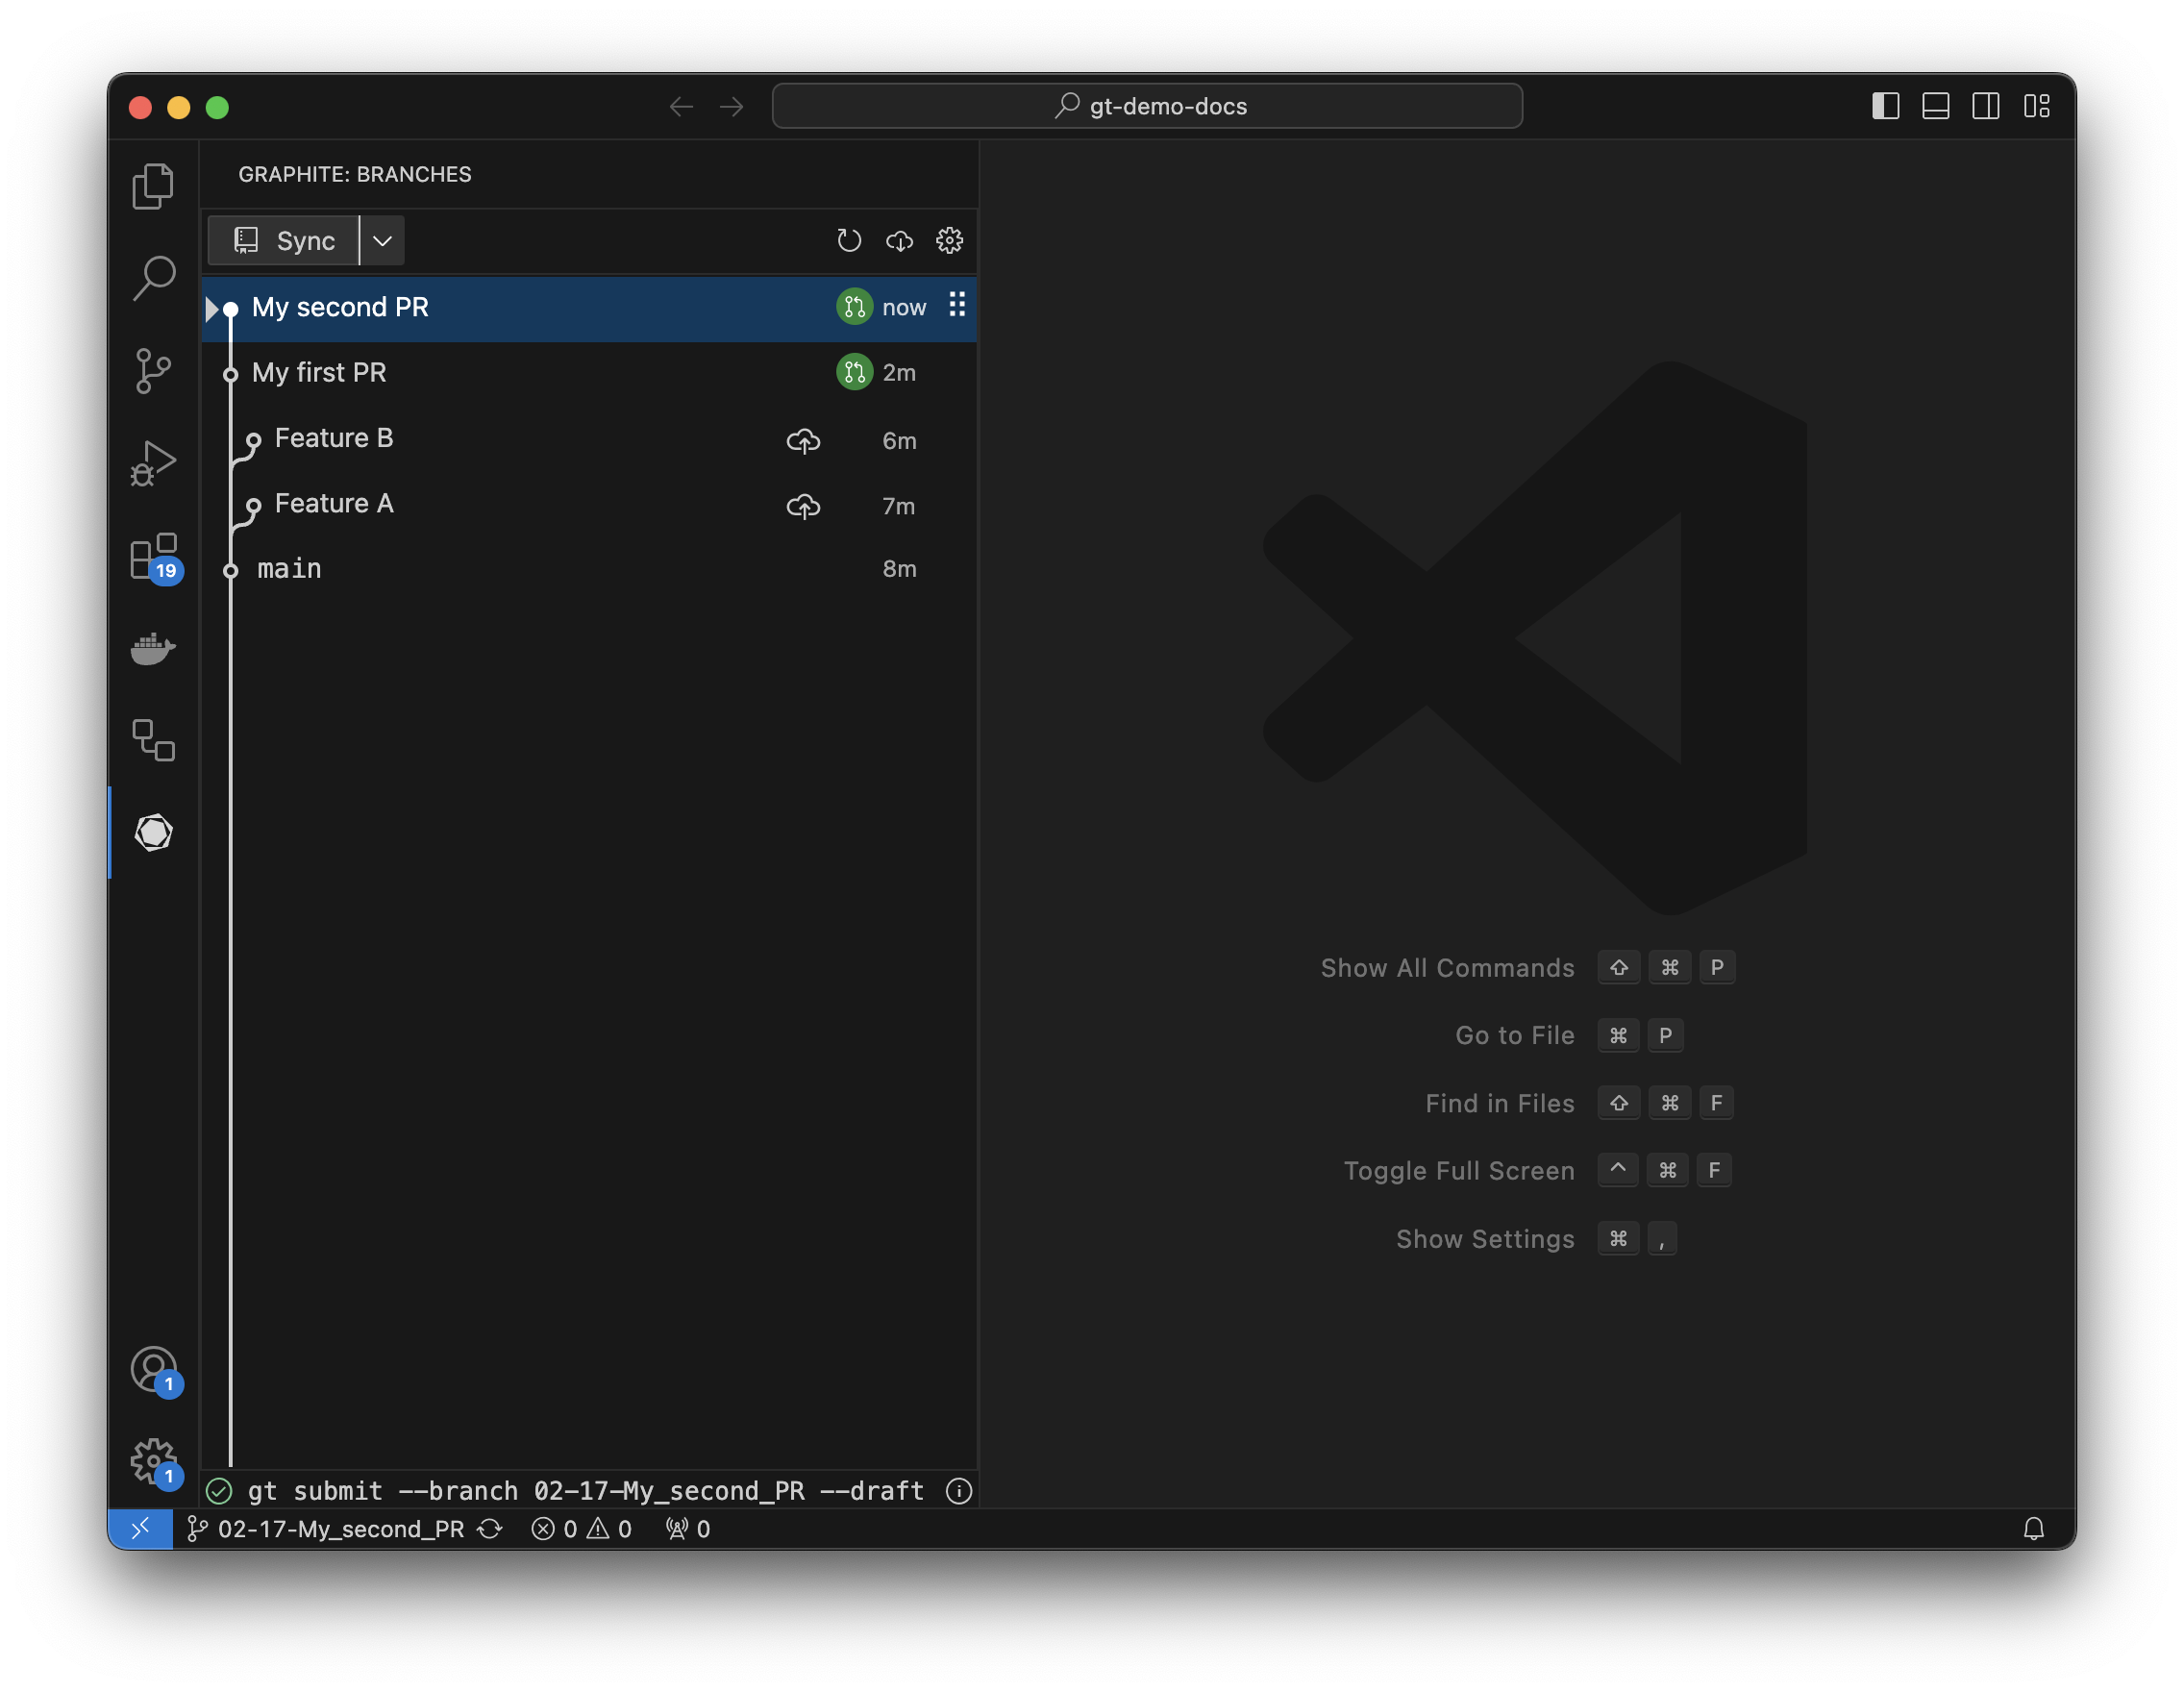 That’s it - you just created your first stack using the Graphite VS Code extension!


